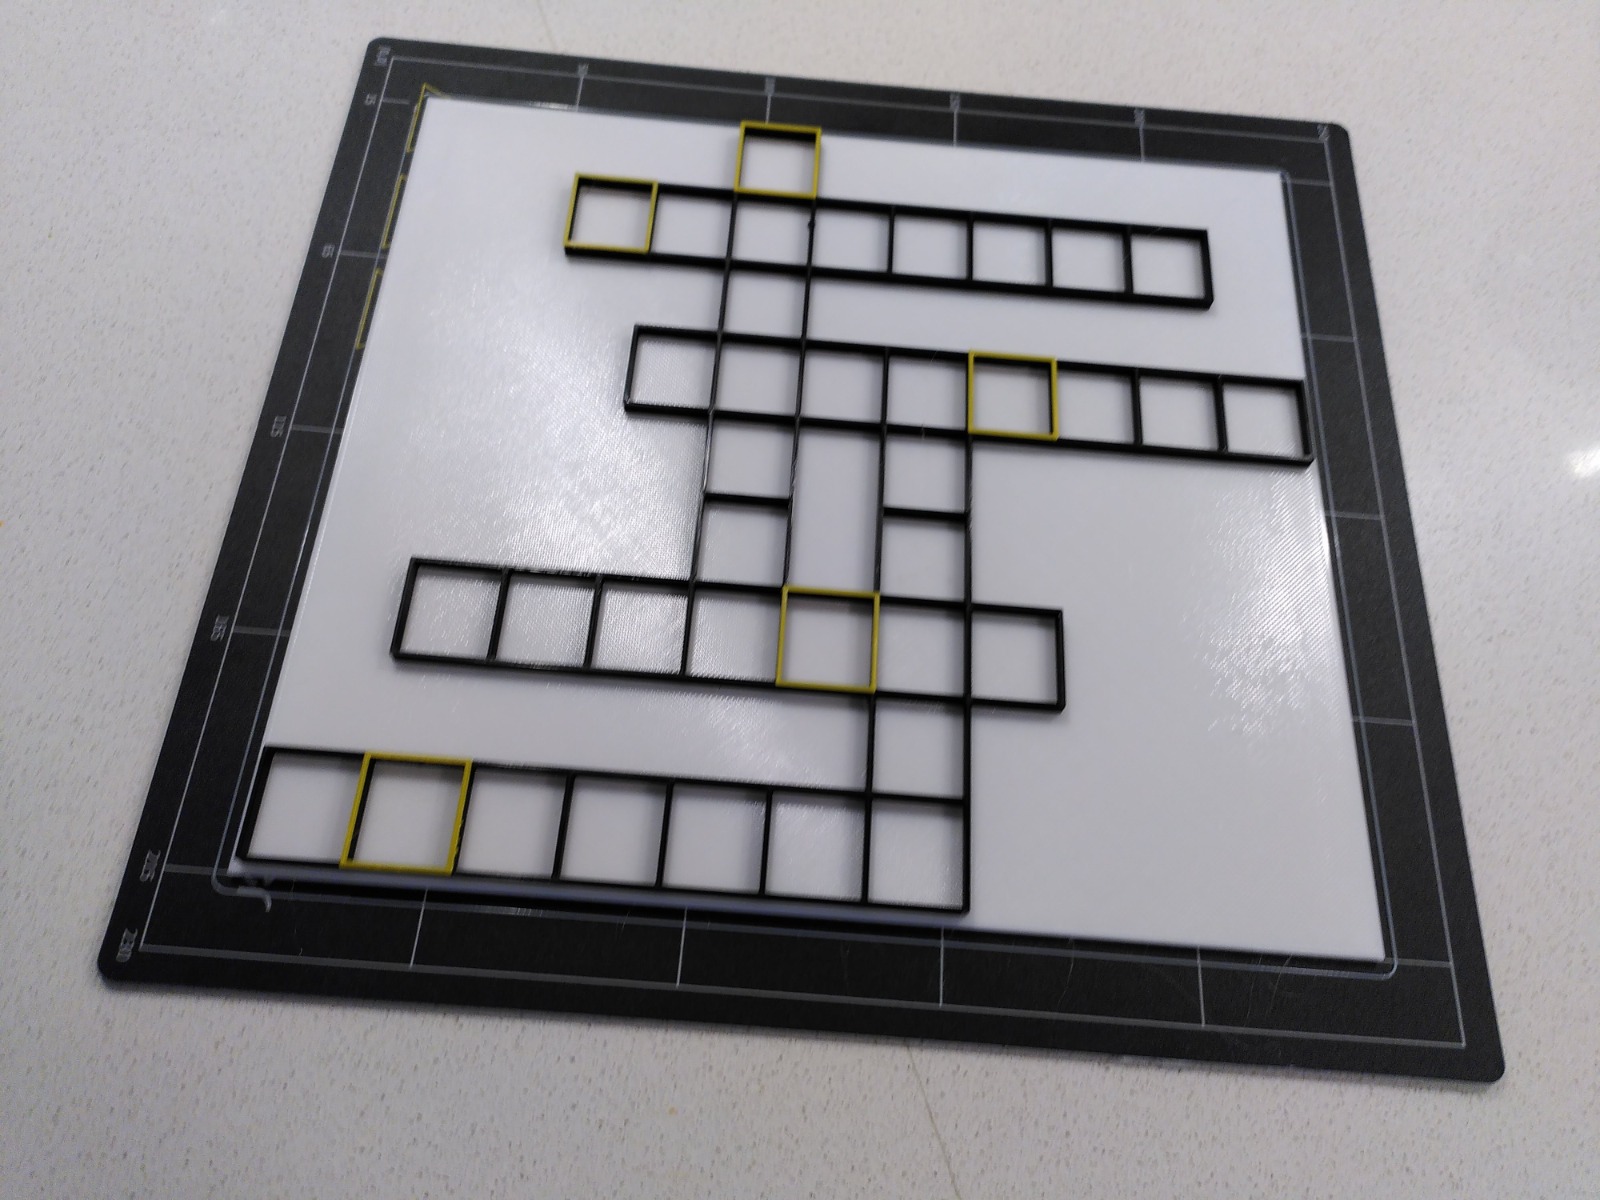
A tool to design 3D printed crossword puzzles.
Generating 3D crossword models
I’ve been working on a tool to generate crossword designs using OpenSCAD. The output is an STL file that you can use with your favourite slicer and send to a 3D printer. It’s open source, and you’re free to plunder it for tips, techniques, or to generate your own…
With minimal effort, you can probably create prints better than this…

What’s OpenSCAD?
OpenSCAD is freely available software for creating solid 3D CAD objects. A SCAD file contains definitions that describe the object you want to create - and OpenSCAD can use that to generate an STL model.

OpenSCAD is a neat solution for expressing complex designs, and yes - I’m aware there are many other cool ways to achieve this with sophisticated design packages and other tools.
How does the crossword generator work?
The ScadGenerator directory contains the code for a C# application that combines your input CSV with a SCAD crossword template for the crossword, and a set of variables contained in another CSV file. What it produces ought to be a valid SCAD file defining the crossword in the shape you defined.
The generate-crossword.sh script builds and executes this application in a Docker container for you.
The output SCAD file it generates is then fed into the openscad/openscad Docker image itself, which is used to generate an STL model from your SCAD definition.
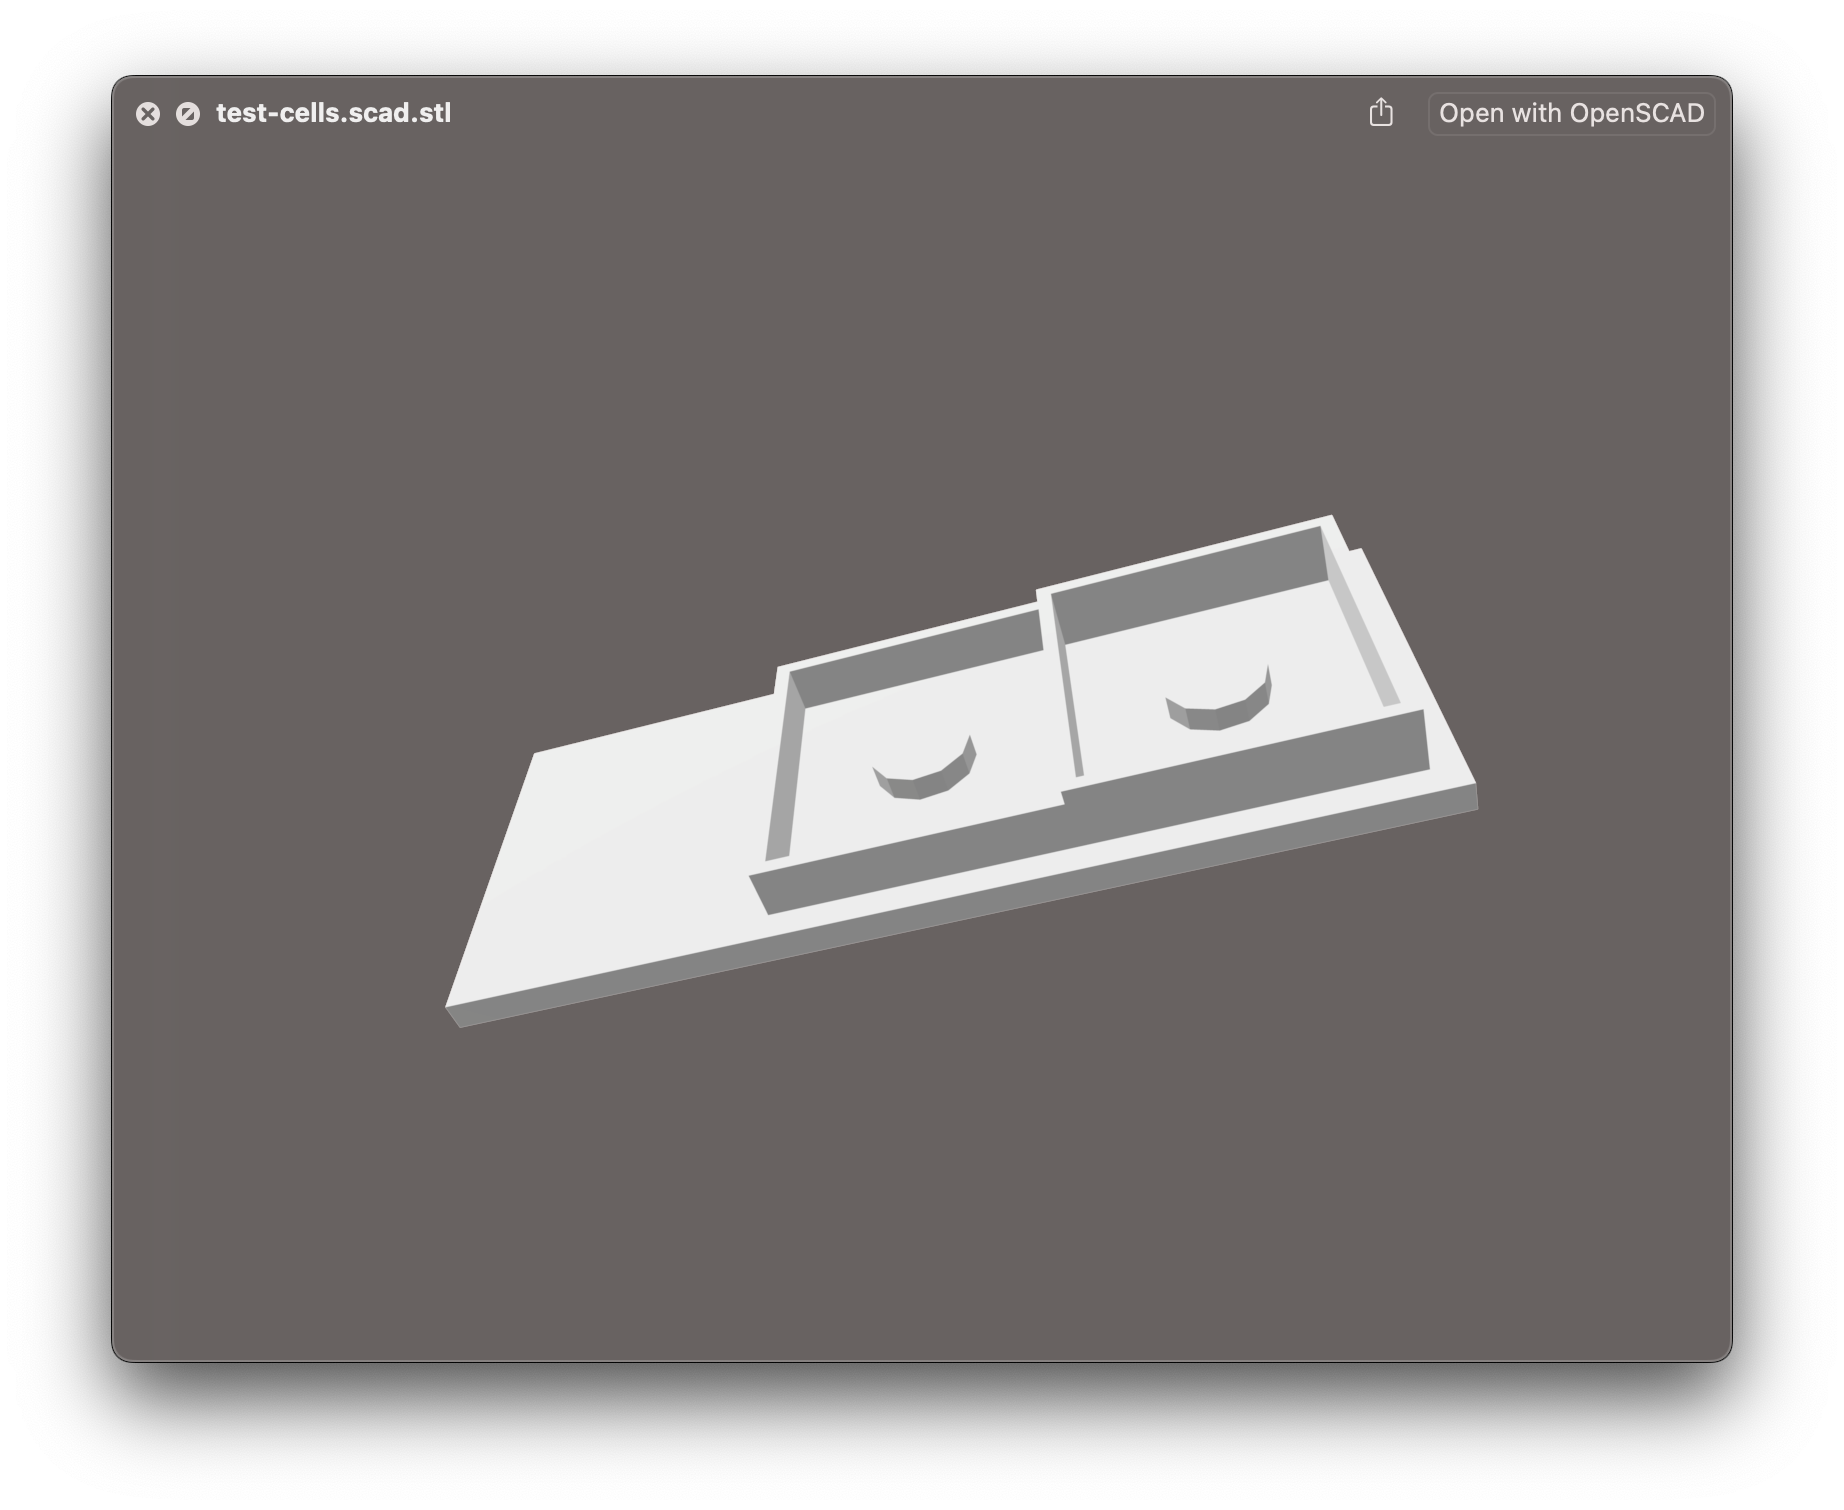
| Test cells (STL) |
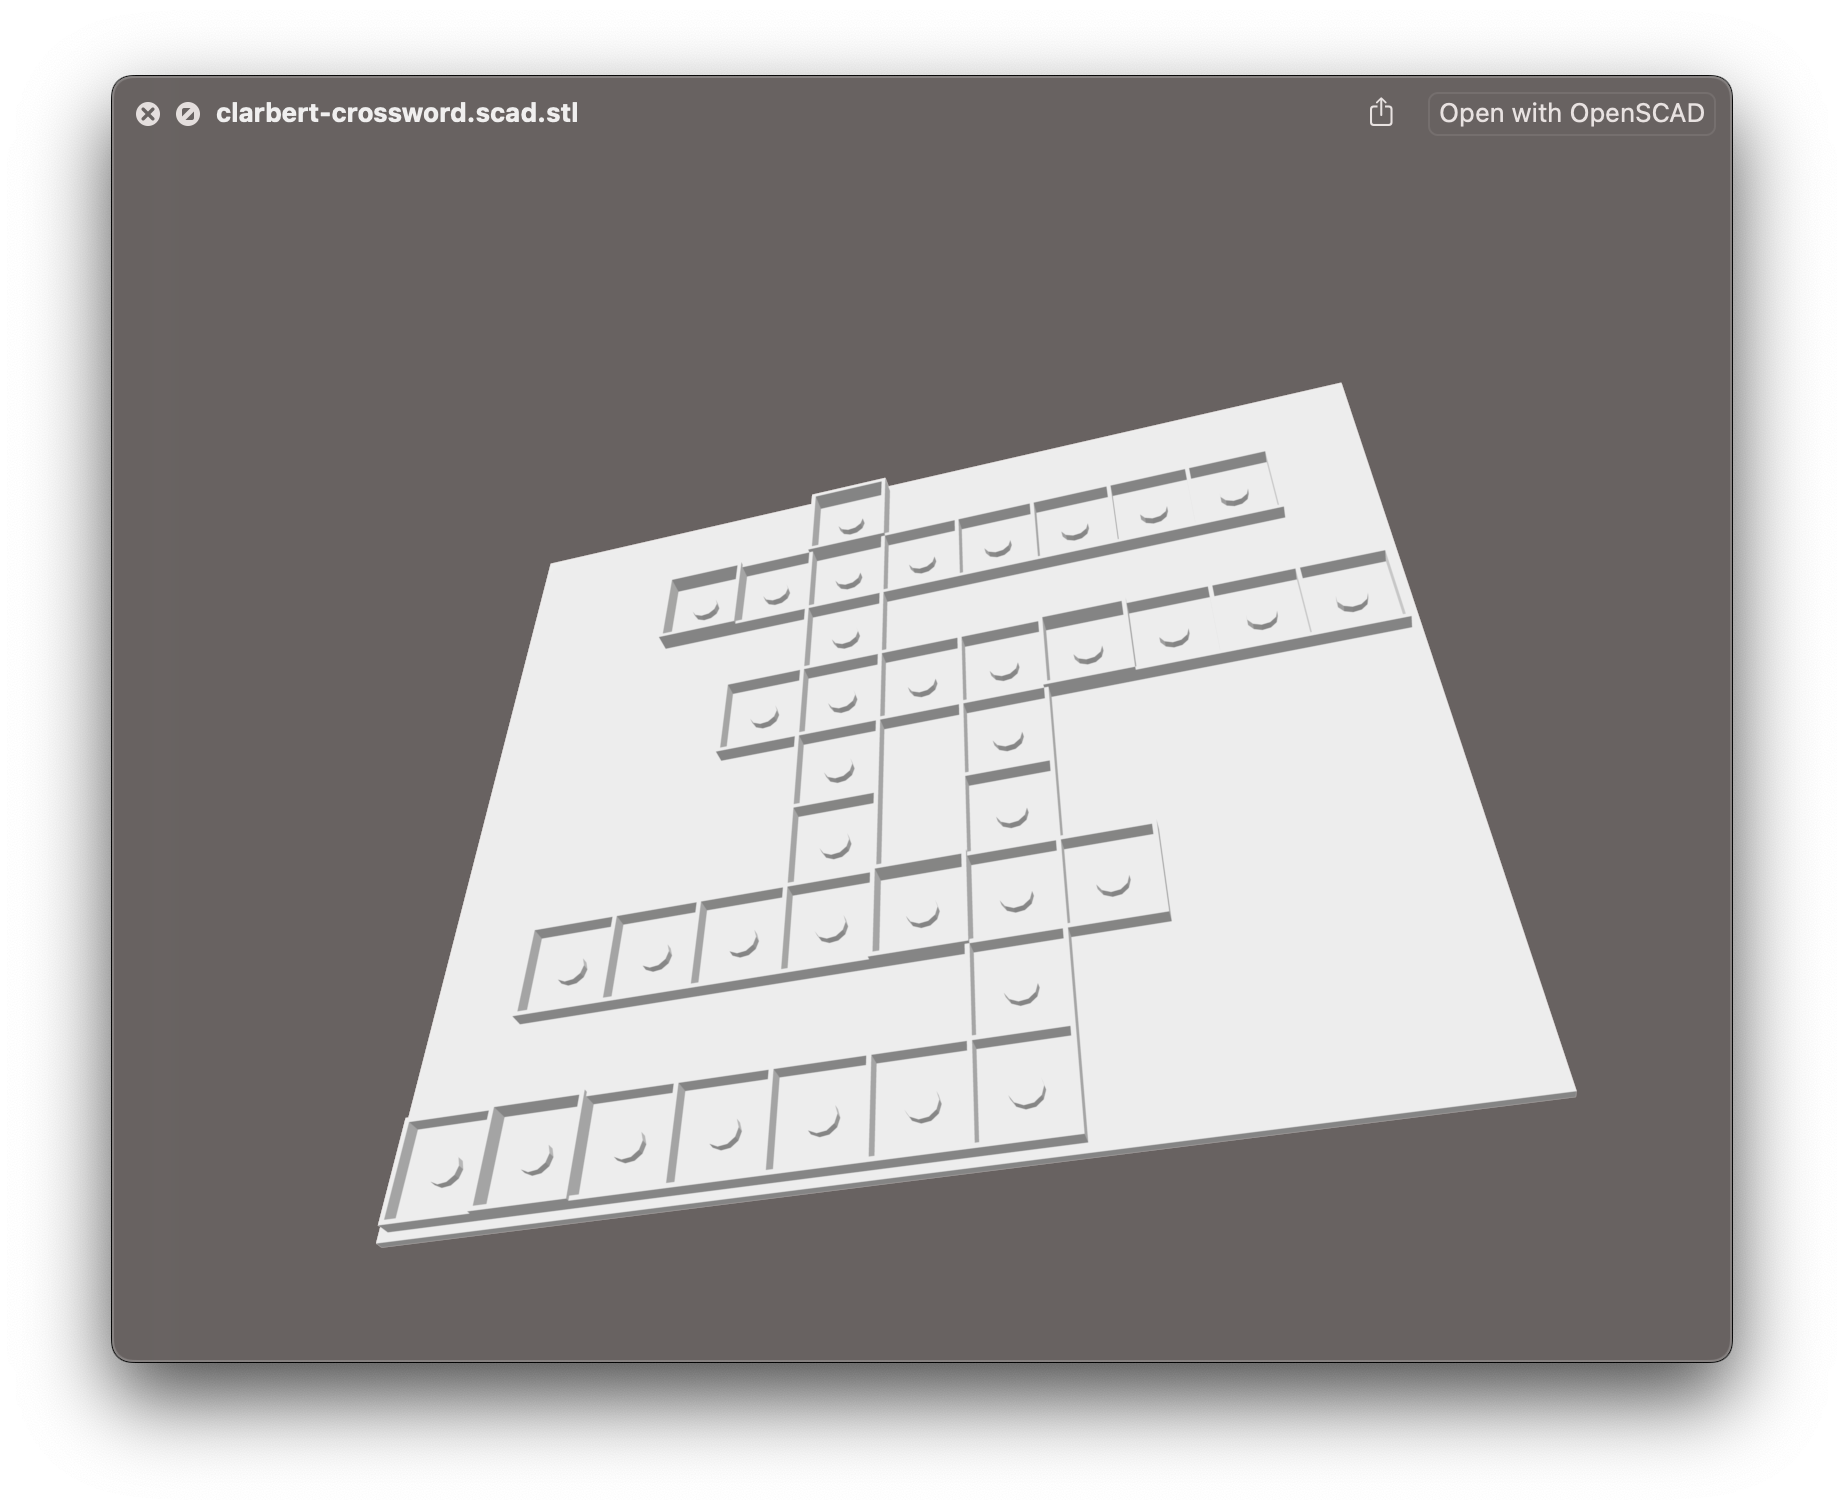
A crossword design (STL) |
 |
 |
How do I use it?
The process is pretty simple:
- Create a CSV file to describe your crossword
- Copy this template sheet
- Edit your characters into the crossword tab of the sheet.
- Use lower case for regular letter grid spaces.
- Use upper case for highlighted spaces.
- Leave everything else blank.
- You may wish to expand the size of the sheet.
- Export the crossword grid as CSV.* Optionally, modify any of the parameters that define the print
- Use the
generate-crossword.sh script to generate an STL model
- Generate the gcode for your printer with the slicer of your choice
- Optionally, add some breaks to change filament/colour during the print
- Send to your printer and print!
How do I get those colour changes?
There’s some extra documentation in the README about how you can modify the gcode file for your 3D printer, to trigger a change of filament at the right moment during the print.
Essentially, you need to add an extra M600 command to the file just before the layer you want printed with the new material. Many slicers can do this for you but, as I found with Snapmaker Luban, not all!
Most printers support the M600 command - but I suggest checking the documentation for yours before you rely on it!


