
instantiator.dev
tech, volunteers, public safety, collective intelligence, articles, tools, code and ideas
- Presence (tool) (in dev)
- ListSky (tool) (in dev)
- The Epistolorean (service)
- Consensus Games (service) (in dev)
- JSON to Smart CSV (tool)
- Escape the Review (profile)
- In this house... (calendar)
- A chat with Lewis (call)
Building an app for Flipper Zero, part 1: Getting started
tutorialFlipperZero is a digital signals multi-tool. Here’s a short guide to the basics of building an app for it…
The Flipper Zero is a digital signals multi-tool device, with some fun applications. It has an infrared module, a sub-GHz radio, RFID and NFC capability, iButton, USB, a screen, input controls, and GPIO pins. It’s small enough to fit in your hand, and it can communicate with your home appliances, or help you to learn about the signals that fly around our world. It’s also extremely customisable.
Let’s build an app for Flipper Zero
Flipper Zero features several apps built directly into the firmware, but you can also create and install external apps onto the SD card which are then available through the Applications menu.
Resistance is futile
With the help of several folks from the Flipper dev community, I recently built an app to calculate the value of resistors by decoding the coloured bands on them.
More detail and source code at:
Thanks to
- Derek Jamison for helping to debug a thorny issue or two, and
- Kuronons for the graphics in the app.
In this tutorial, we’ll walk through the process of setting up an app, and building a simple user interface, using the same techniques.
Community
Before getting started, it’s helpful to know that there’s a thriving and welcoming FlipperZero community on a public Discord server:
With thanks
This part of the tutorial series would not have been possible without the help and support of various people in the Flipper Zero community. Many thanks to:
- Derek Jamison for his plugin tutorials, and accompanying wiki
- FlipperZero folks for the ufbt tool, and
- Aleksey Korolev for the flipc.org Flipper app catalogue.
The toolchain
I’m using a few tools:
- ufbt (“micro Flipper Build Tool”) - a version of fbt (the Flipper Built Tool) that supports everything you need for app development
- Visual Studio Code - an editor and IDE from Microsoft
- Pinta - a Mac clone of paint.net (but any graphics tool that allows you to edit 1-bit PNGs will do)
The experience working with Visual Studio Code is brilliant. It provides project management features, C syntax awareness and highlighting, and ufbt provides a nice integration to support build and debug options from the IDE.
Versions and firmwares
Flipper apps are written in C, and they’re compiled against the version of the firmware you want them to run against. This means that if your firmware changes, your app must too.
This create a little complexity for distributing an app - as the firmware versions regularly frequently, and many people are using different flavours of firmware altogether (eg. DarkFlipper/Unleashed, RogueMaster).
NB. An exploration of the various firmware features is beyond the scope of this tutorial.
There’s a nice app distribution site called flipc.org that solves this problem by compiling apps from source code as they’re needed. Provided your source code is in a public GitHub repository, you can use flipc.org to publish it.
Coming to C from C-type languages
If you’re not familiar with C, but you’ve worked in C-type languages, you’re off to a good start. There are few things to know, though. Feel free to skip this section if you’re already a confident C developer.
Caveat: I’ve not been working in C for long, but as I’ve experienced most of these pitfalls, I wanted to share them with you to help you avoid the same mistakes! Some of these are very difficult to debug - especially memory leaks.
Memory safety
C isn’t managed code, and there’s no garbage collection, so you’re going to have to take good care of the memory you allocate to data structures (structs) with malloc and free functions. If you allocate some memory, you’re going to have to free it - particularly if your code can do the allocation more than once. If you don’t release it, this can cause a memory leak - where you eventually run out of assignable memory.
C also won’t prevent you from accessing memory you shouldn’t (eg. if you malloc the wrong size for your struct, and then try to write to it (or if you write to an incorrect offset to a pointer), you could end up writing to memory reserved for other variables or even code). This sort of issue manifests as weird crashes or unexpected values in variables, often long after the actual buggy code has been executed. That makes it difficult to debug.
Namespaces
C doesn’t have objects or enforced namespaces, so as soon as you’re writing something reasonably complex I recommend you start naming things carefully, so that it’s absolutely clear what’s what.
For instance, enums are named in code, but this is a thin veil over integers, and you can use enum values as integers anywhere in the code. I recommend giving enum values distinct names prefixed with the name of the enum type itself, eg.
typedef enum {
    TagEventTypeInput,
    TagEventTypeSubGhzDataDetected,
    TagEventTypeInfraredMessage,
} TagEventType;
CapitalisationOfWords or using_underscore_delimiters are both acceptable ways to clarify namespaces and meanings in my book. I’m sure there’s an established convention. My advice is to be consistent in whatever you do.
static and const
It’s worth understanding what keywords like static and const mean in C - they won’t be perfectly aligned to how you’ve been using them in (say) Java, C++, or C#…
static(function) - astaticfunction is only available to other methods in the same.cfilestatic(global variable) - astaticglobal variable is only available to methods in the same.cfilestatic(local variable) - astaticvariable in a function keeps its value between function calls
Hiding functions with static is similar to creating private methods in other languages, and it’s considered good practice.
The const keyword distinguishes between pointers and variables, and has a few variants. It’s used to indicate that a particular pointer or variable cannot be assigned to after initialisation. Don’t worry if this doesn’t all go in, it’s just worth knowing…
int var = 5;an assignable integerint const var = 5;an unassignable integerint* var- an assignable pointer to an assignable integerconst int* var- an assignable pointer to an unassignable integerint* const var- an unassignable pointer to an assignable integerconst int* const var- an unassignable pointer to an unassignable integer
Data structures
struct and enum are similar to what you’d expect although, as mentioned earlier, enum values are actually integers - and so not as type-safe as you might assume.
struct is about as close as you can get to a data class - and you’ll see them used all over C to represent rich data structures.
Code, headers and interfaces
.c files contain code. It’s possible to write an entire application in a single .c file - and I’ve seen several of these. It’s a perfectly acceptable approach, but you risk encountering complexity and difficulties as you go.
The C compiler cares about the order that things are defined in. So, for instance, if you want to refer to a function, it needs to have been defined before you first refer to it. If not, you’ll see a couple of errors.
For instance, if you refer to a function called do_something before you define it, you’ll see something like this where you first call it:
implicit declaration of function 'do_something'
and then, where you define it:
conflicting types for 'do_something'
This is because when you first referred to function do_something, you ‘implicitly’ defined it. Then, later, when the compiler encountered your actual definition it doesn’t know what to do - it already has an implicit definition.
There are two solutions to this:
- Place the function definition before its first reference in the
.cfile - Define the function’s footprint in a
.hheader file, and include that header file at the beginning of your.cfile
In this simple scenario, it’s probably easier just to reorder your functions.
As soon as you want to start defining a group or library of functions and structures that are all linked, you’ll want to place them into a separate .c file and then create a header file you can use to define the interface (the methods you’re sharing with other .c files).
As a rule of thumb, if you want to include a header file from your own code, use inverted commas:
#include "my_lib.h"
If you want to include a library header (eg. from the firmware), use angle brackets:
#include <gui/gui.h>
The good news is that ufbt is smart. It will find all your .c code files, and compile them in a sensible order. (The days of having to list all your code files for gcc are a long distant nightmare…)
Firmware headers
A lot of this tutorial will use the gui libraries made available through the official firmware. If you ever need to figure out how something works, it’s definitely worth taking a look.
If you do poke around you’ll see plenty of .c code files and .h header files. Those header files define exactly which functions, structs, enums, global variables, and macros you’ll be able to use to develop your app.
You’ll also see some header files that end with the suffix _i.h. These are internal headers. This means that their content is not made available to app developers. You shouldn’t need anything in them, although occasionally you may see something in there you’d like to use. Try searching to see if it’s called as a part of another function. There’s often a good reason why a function has not been exposed to app developers. If you still think you need it, you can always raise the question on Discord.
Setting up your environment
First, create the directory you want to work in, open a terminal, and navigate to that directory.
$ mkdir test_app
$ cd test_app
I often open a terminal in Visual Studio Code, as it’s easiest to work in a single tool and see what’s happening as I go.
Fetch the FlipperZero firmware
Update ufbt to collect the Software Development Kit (SDK) for the current firmware. You can specify the firmware channel using the --channel=[dev|rc|release] option.
$ ufbt update --channel=dev
13:36:51.062 [I] Deploying SDK for f7
13:36:51.062 [I] Fetching version info for UpdateChannel.DEV from https://update.flipperzero.one/firmware/directory.json
13:36:51.201 [I] Using version: a7d1ec03
13:36:51.201 [I] uFBT SDK dir: /Users/lewiswestbury/.ufbt/current
13:36:53.304 [I] Deploying SDK
13:36:53.556 [I] SDK deployed.
NB. I recommend working against the dev channel firmware. It enables quite a lot of safeguards to help catch certain kinds of mistakes early (you’ll see theses as furi_assert assertions in firmware code, and you can use them yourself).
NNB. If a furi_assert fails (ie. the assertion isn’t true), it will hang your program. It can sometimes be quite difficult to identify or locate the problem, particularly if you haven’t tried to debug your code yet, but at least you’ll know there’s an issue. I’ll cover debugging in a future tutorial (once I have the supporting hardware). In the meantime, you could check out Derek Jamison’s guide on YouTube: Flipper Zero: Debugging FURI_ASSERT failures
Your Flipper’s firmware should match the firmware you’re working against, or the app won’t launch. You can use ufbt to flash the firmware on your Flipper:
ufbt flash_usb
ufbt will also flash through an ST-link if you have that available:
ufbt flash
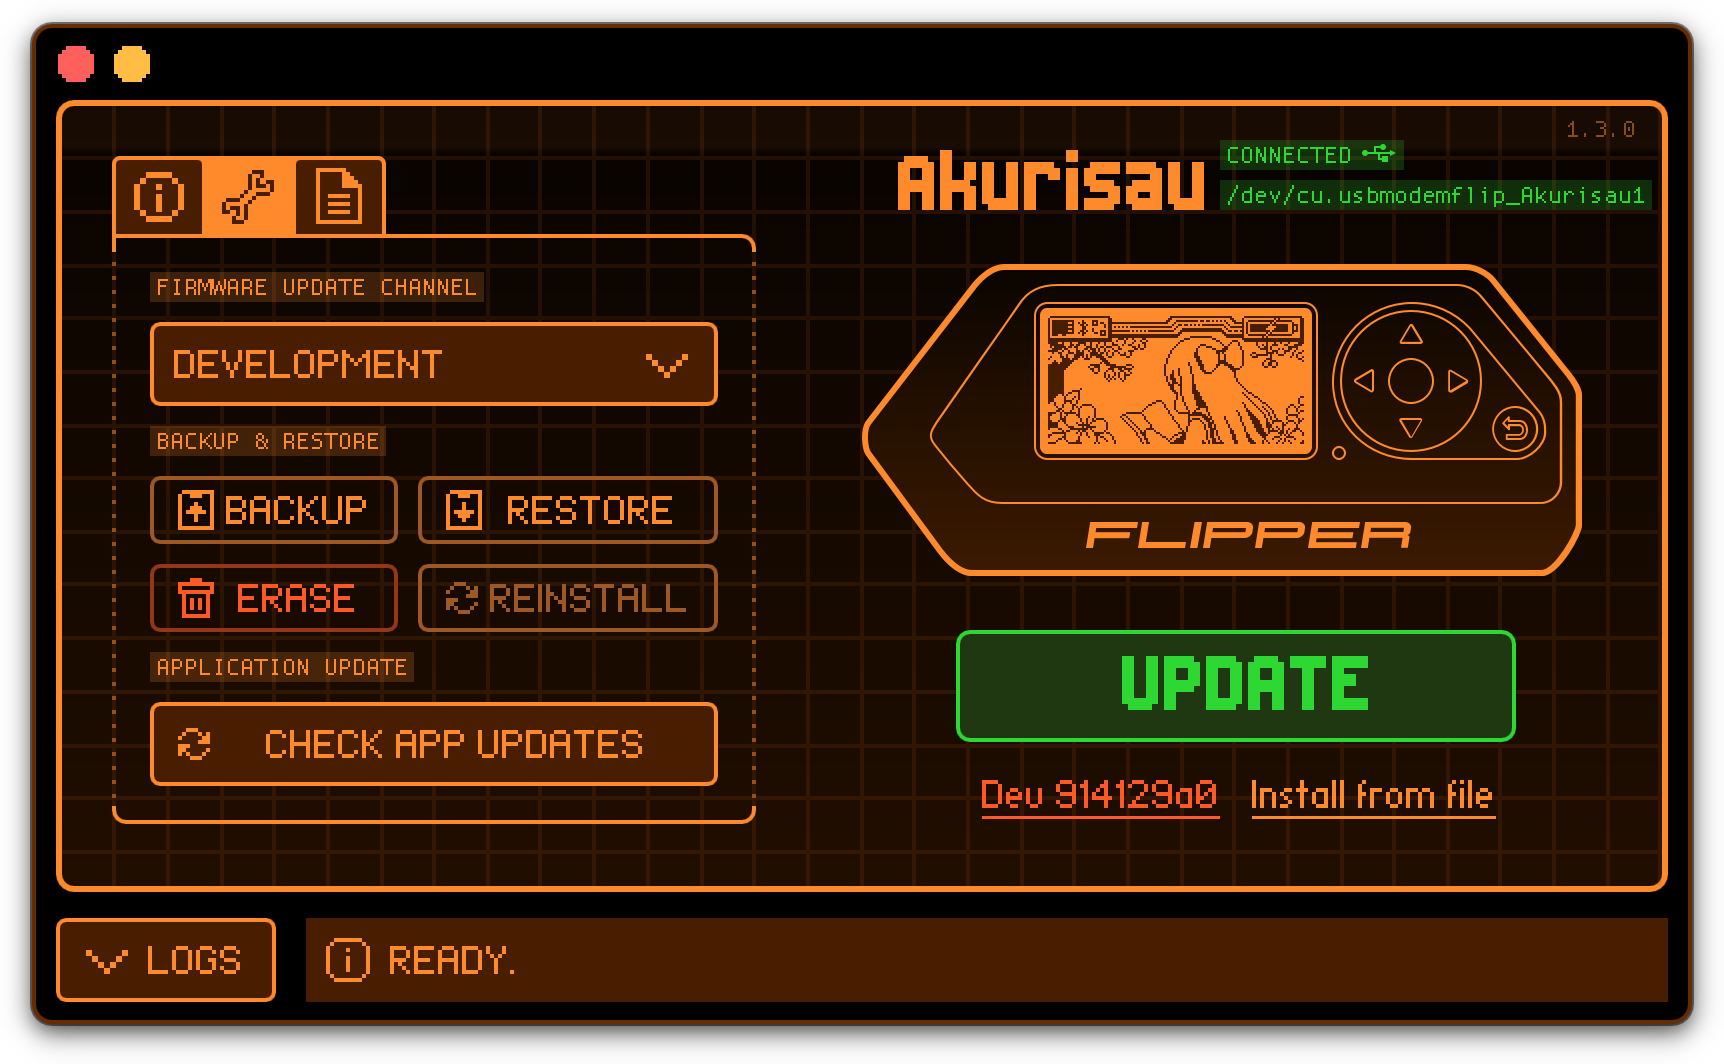
The qFlipper application also supports this:
Create a skeleton app
ufbt create will create a nice working environment for your app. Give your app a simple id, eg. test_app - you’ll be able to change this later. Provide an id for the application, with the APPID= option.
NB. I recommend using characters from the simple set of a-zA-Z0-9_. Restrict yourself to characters that can appear in a C function name, or you may end up having to rename the main function, and the entrypoint in your application manifest before you can build.
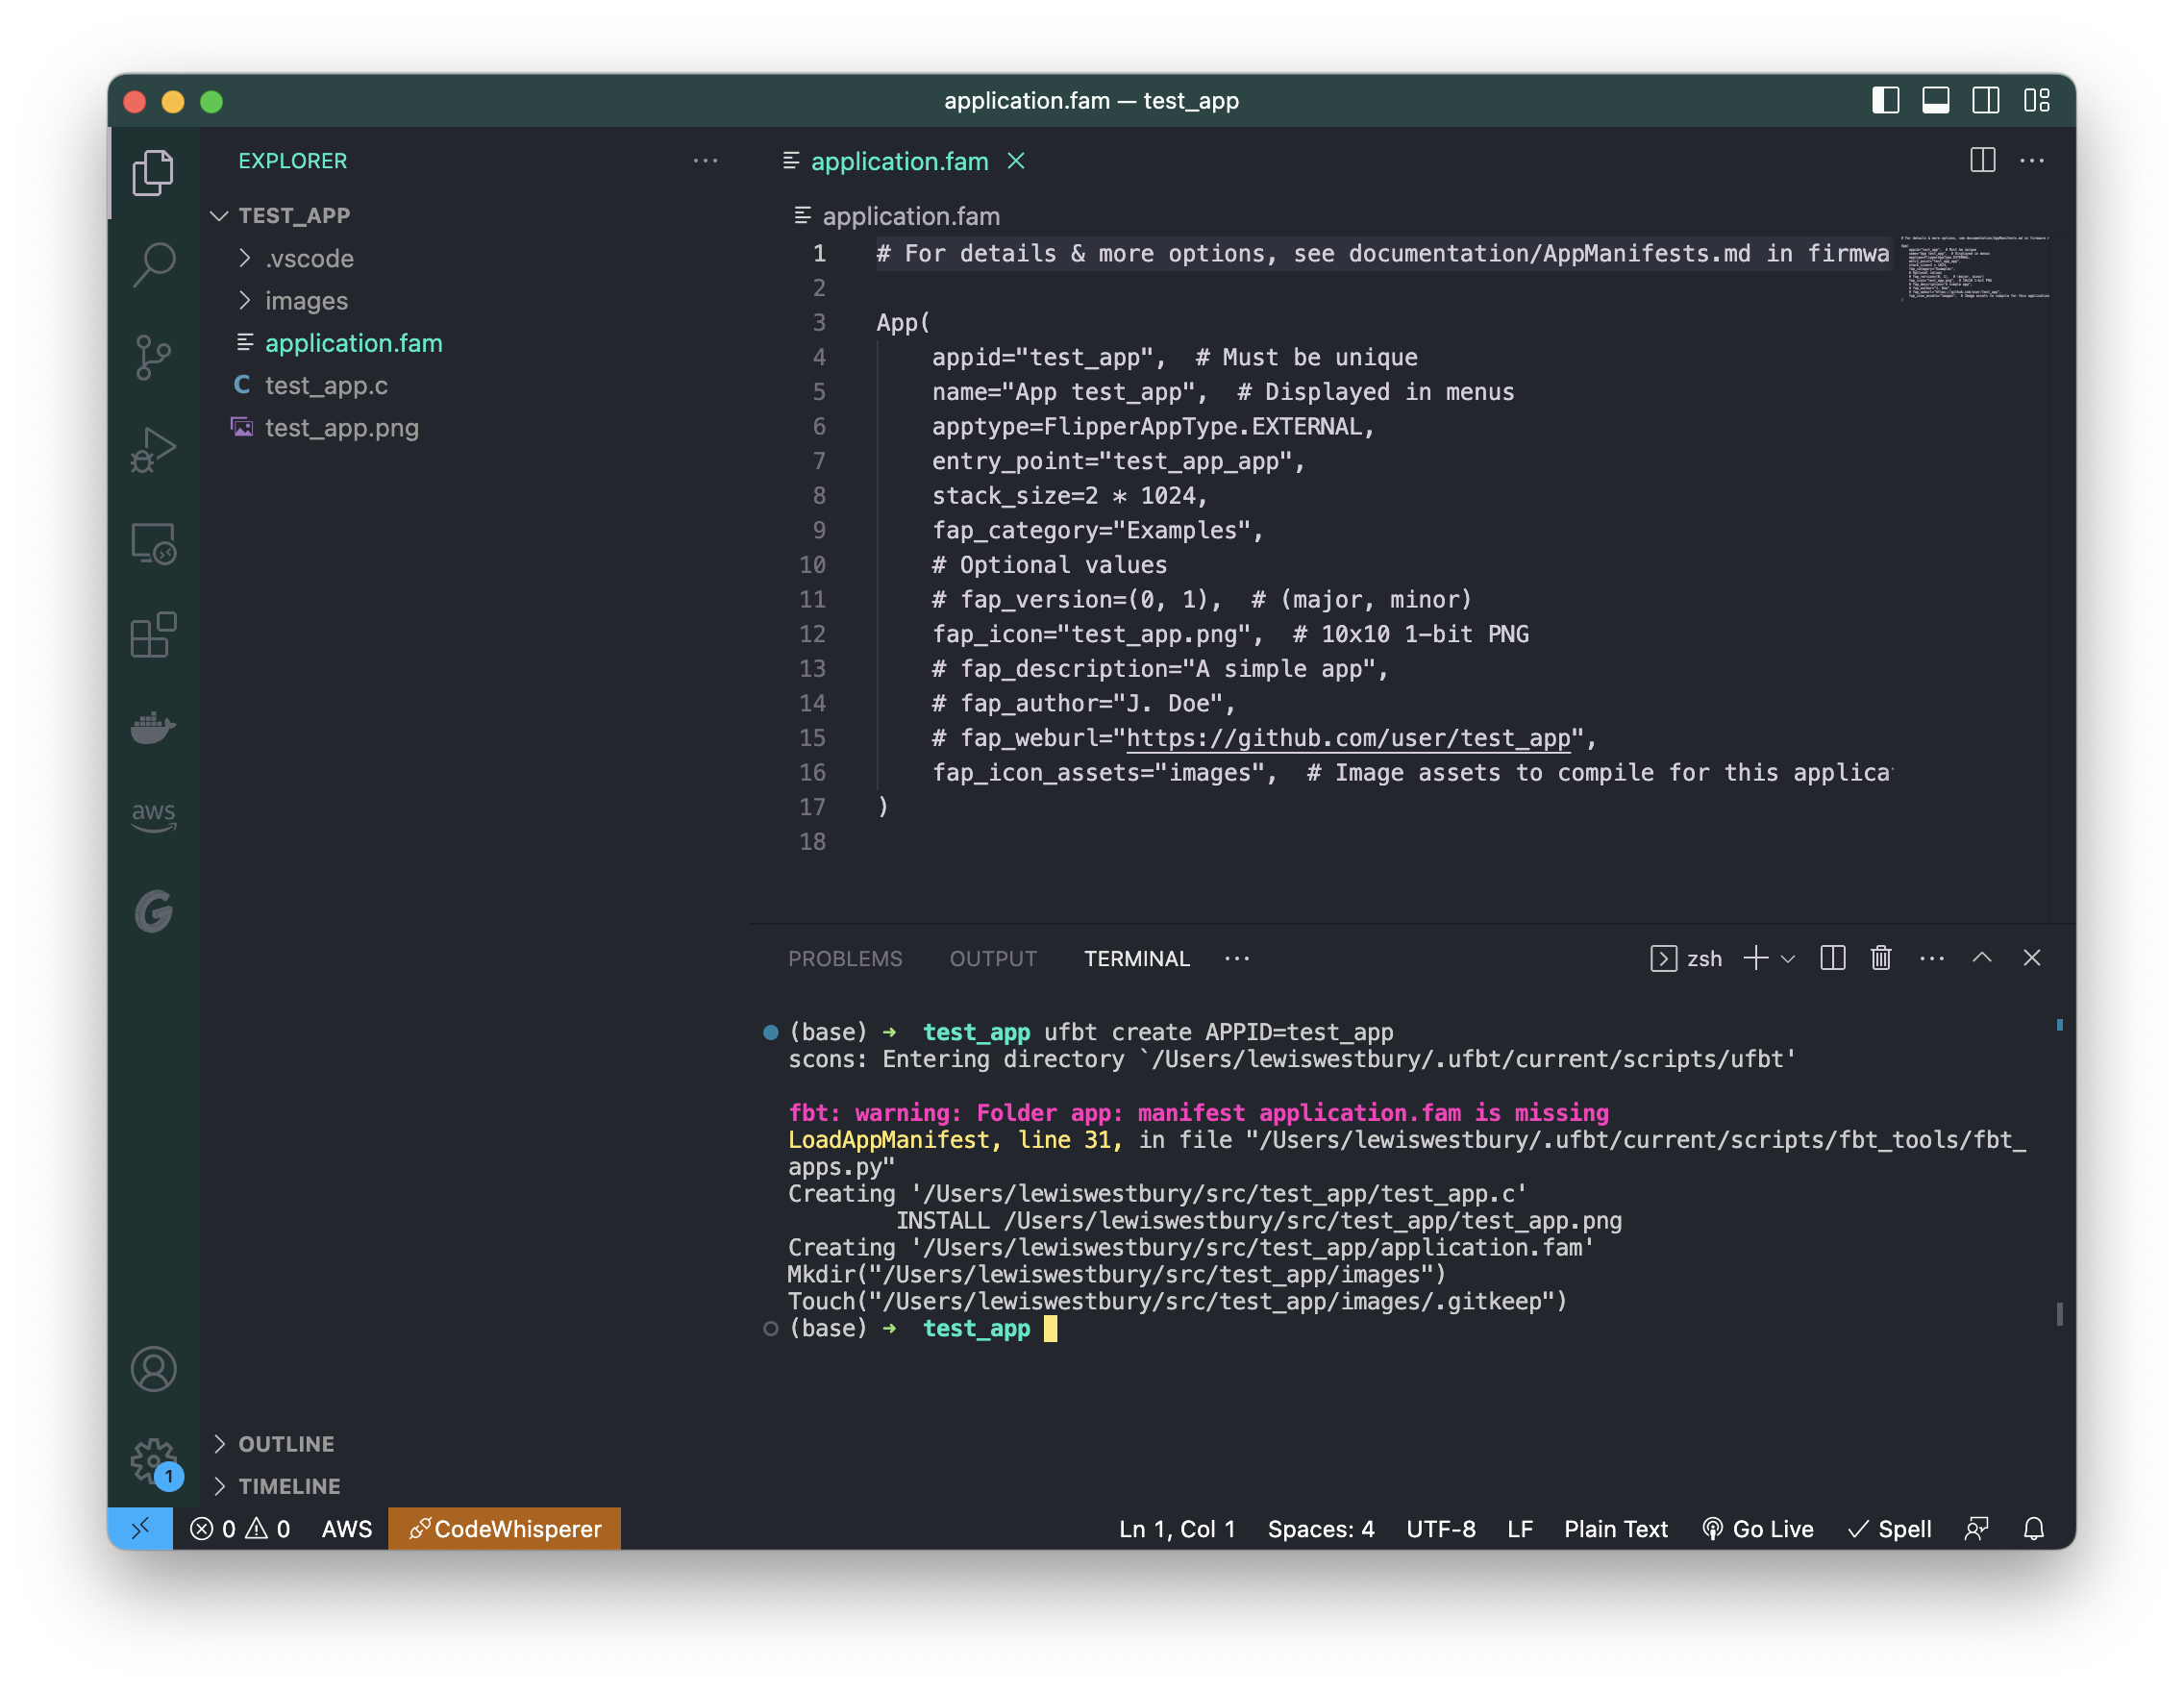
Running for the first time, it’ll warn that the application.fam file doesn’t exist (and then create one for you):
$ ufbt create APPID=test_app
scons: Entering directory `/Users/lewiswestbury/.ufbt/current/scripts/ufbt'

fbt: warning: Folder app: manifest application.fam is missing
LoadAppManifest, line 31, in file "/Users/lewiswestbury/.ufbt/current/scripts/fbt_tools/fbt_apps.py"
Creating '/Users/lewiswestbury/src/test_app/test_app.c'
        INSTALL /Users/lewiswestbury/src/test_app/test_app.png
Creating '/Users/lewiswestbury/src/test_app/application.fam'
Mkdir("/Users/lewiswestbury/src/test_app/images")
Touch("/Users/lewiswestbury/src/test_app/images/.gitkeep")
You should see the following files in the directory now:
application.fam- this is the app manifest, with details about your appufbt-test.c- application source codeufbt-test.png- a 10x10 1-bit png icon for the appimages/- a directory where you can place 1-bit png icons
Test a build
With no other options, ufbt will build your app.
$ ufbt
scons: Entering directory `/Users/lewiswestbury/.ufbt/current/scripts/ufbt'
        ICONS   /Users/lewiswestbury/.ufbt/build/test_app/test_app_icons.c
        CDB     /Users/lewiswestbury/src/test_app/.vscode/compile_commands.json
        CC      /Users/lewiswestbury/src/test_app/test_app.c
        CC      /Users/lewiswestbury/.ufbt/build/test_app/test_app_icons.c
        LINK    /Users/lewiswestbury/.ufbt/build/test_app_d.elf
        INSTALL /Users/lewiswestbury/src/test_app/dist/debug/test_app_d.elf
        APPMETA /Users/lewiswestbury/.ufbt/build/test_app.fap
        FAP     /Users/lewiswestbury/.ufbt/build/test_app.fap
        INSTALL /Users/lewiswestbury/src/test_app/dist/test_app.fap
        APPCHK  /Users/lewiswestbury/.ufbt/build/test_app.fap
                Target: 7, API: 23.3
When complete you’ll find a file called test_app.fap inside the dist directory. This is your entire application, bundled for the Flipper Zero. If you upload this to your Flipper Zero, into the Examples directory of your SD card, it’ll appear in the Applications menu. (It doesn’t do much, but you can run it from there.)
You can change the directory for the app, by altering the fap_category entry in application.fam.
Visual Studio integration
Visual Studio Code can support some nice shortcuts to make your life easer, and ufbt can install them.
$ ufbt vscode_dist
scons: Entering directory `/Users/lewiswestbury/.ufbt/current/scripts/ufbt'
Creating '/Users/lewiswestbury/src/test_app/.vscode/c_cpp_properties.json'
Creating '/Users/lewiswestbury/src/test_app/.vscode/extensions.json'
Creating '/Users/lewiswestbury/src/test_app/.vscode/launch.json'
Creating '/Users/lewiswestbury/src/test_app/.vscode/settings.json'
Creating '/Users/lewiswestbury/src/test_app/.vscode/tasks.json'
        INSTALL /Users/lewiswestbury/src/test_app/.clang-format
        INSTALL /Users/lewiswestbury/src/test_app/.editorconfig
        INSTALL /Users/lewiswestbury/src/test_app/.gitignore
Visual Studio Code now becomes aware of references to the SDK in your code, which is very helpful for syntax and error highlighting. You can now also use shortcuts in the IDE:
Shift+Command+B= build menuShift+Command+D= debugging menu
Quick review
We’ve looked at Flipper Zero firmware, pitfalls of working in C, setting up your environment, creating a skeleton app, and testing your toolchain with a simple build.
In the next part, we’ll explore the various approaches, structures and libraries available to help you build a graphical interface for the Flipper.