A friend is helping out with a community project and asked for some laptops. I rustled up some old kit and gave it a refresh. You can too!
Donate your laptop safely
Is it time to dig out your old computer and give it to a good cause?
Many old machines can enjoy a new lease of life, even if they were running a little slow the last time you used them.
Here’s a quick walk-through, with some tips for wiping the disk of your old laptop securely, and replacing the operating system with something that’s a bit more lively!
Why wipe it down? Personal details, websites you’ve visited, even credit card details are left on the disk of your computer long after you’ve used them. A recent study found that 42% of second-hand hard drives bought on eBay contained sensitive information that was easy to access.
I’ve chosen to use Ubuntu, a completely free operating system. There are plenty of other choices out there, but Ubuntu is well maintained and simple to use. It also has the benefit that even before it’s installed, we can launch it from a pen drive and use it to wipe down the disk.
NB. These instructions are for PCs. If you’re preparing an old Mac, take a look at these instructions from Apple.
You will need…
- A USB pen drive, 2Gb or more
Back up your data
You’ve probably got a few things left on your laptop, or some old photos that aren’t backed up to your favourite cloud provider. Use the USB pen drive or your internet connection to make sure everything’s safely backed up. You’re going to wipe the pen drive in the next step, so make sure that if you use it, you transfer those files to another computer.
Prepare an Ubuntu bootup disk
We’ll be using Ubuntu to wipe down the disk on your laptop securely, before installing it as the main operating system.
The Ubuntu CD image (ISO) works when run from a CD or a USB pen drive. These instructions assume you’re working with a pen drive, but you could also improvise and burn a CD.
- Download the latest Ubuntu ISO
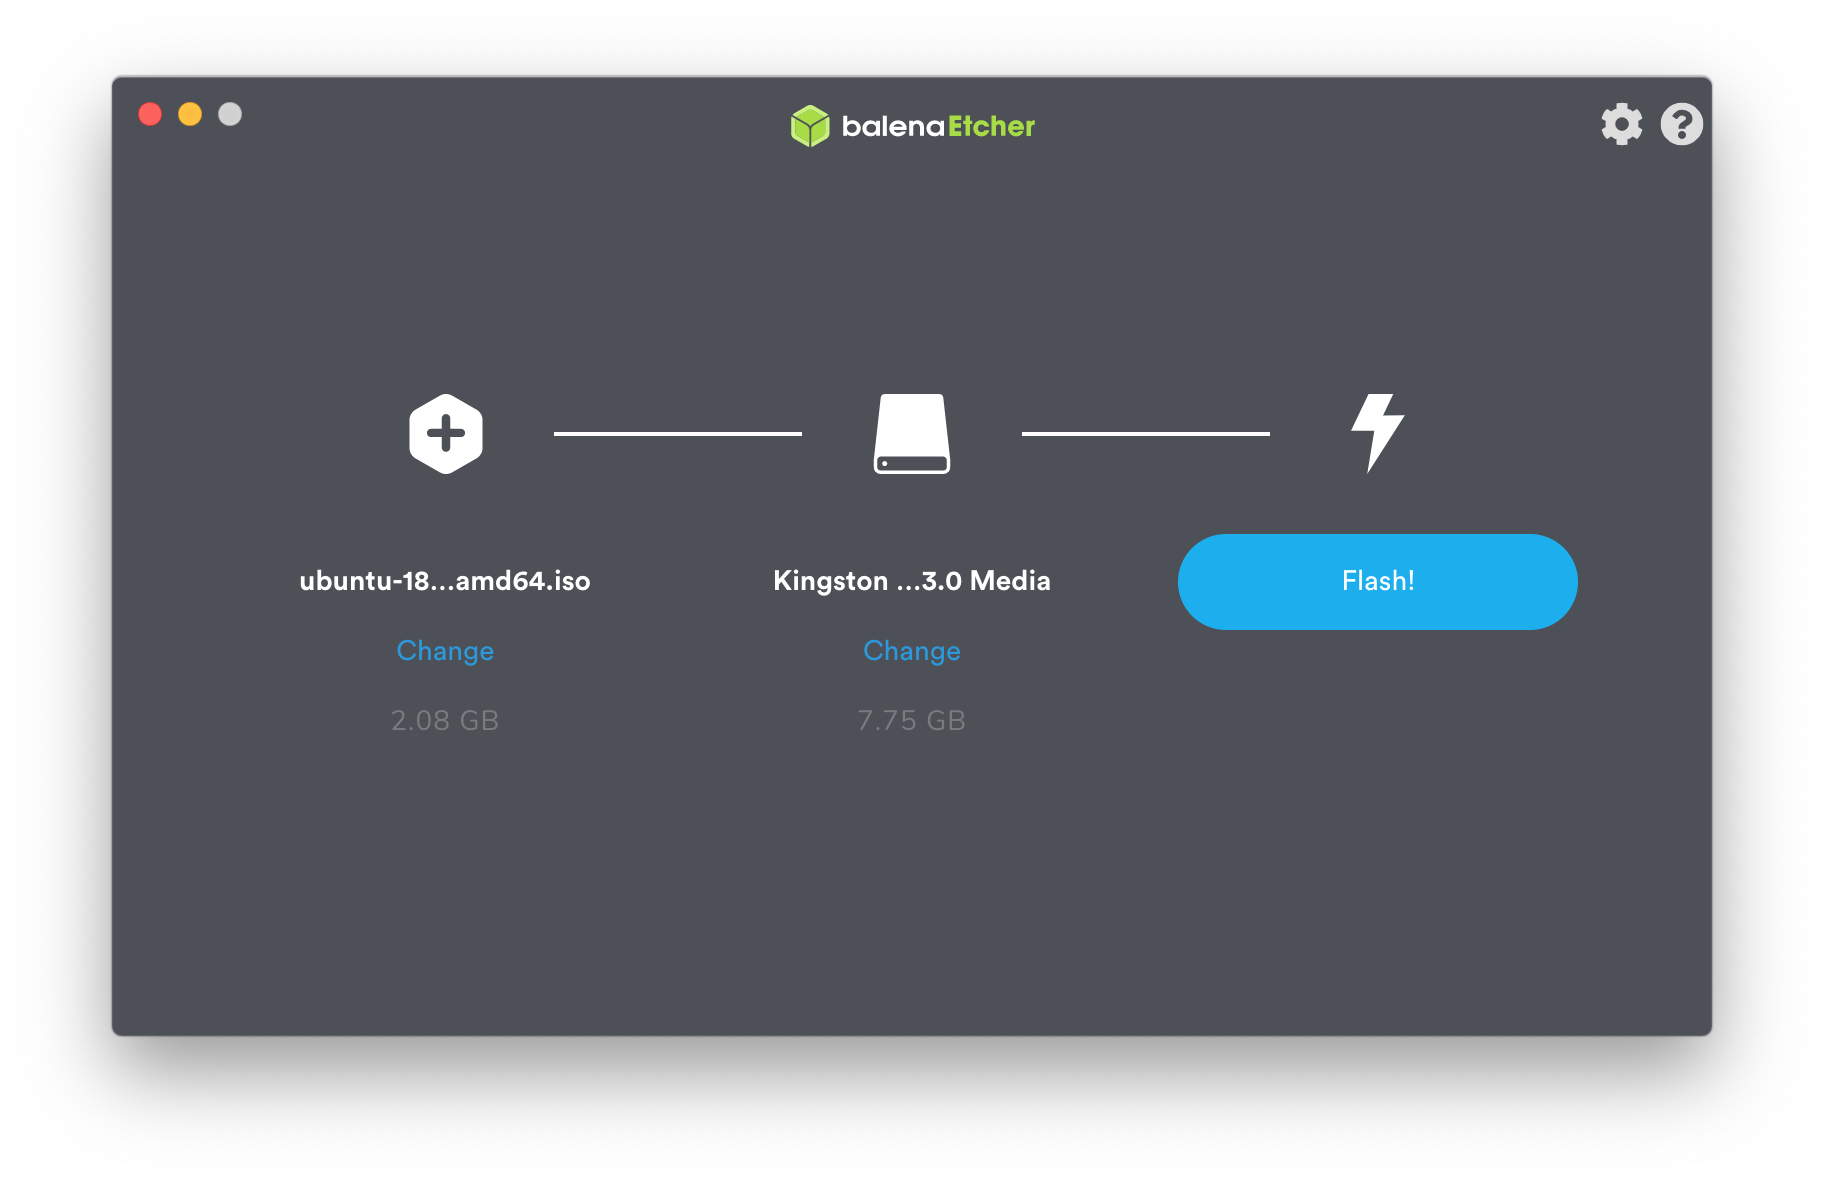
- Download and install balenaEtcher
- Connect the pen drive
- Run balenaEtcher, select the ISO you downloaded, the pen drive, and choose Flash!
Launch Ubuntu
Once the drive is flashed and verified, you can connect it to your old laptop. When you turn your laptop on, for a few seconds you’ll see some info about how to select a boot device. It’s often a function key, such as F11 or F12.
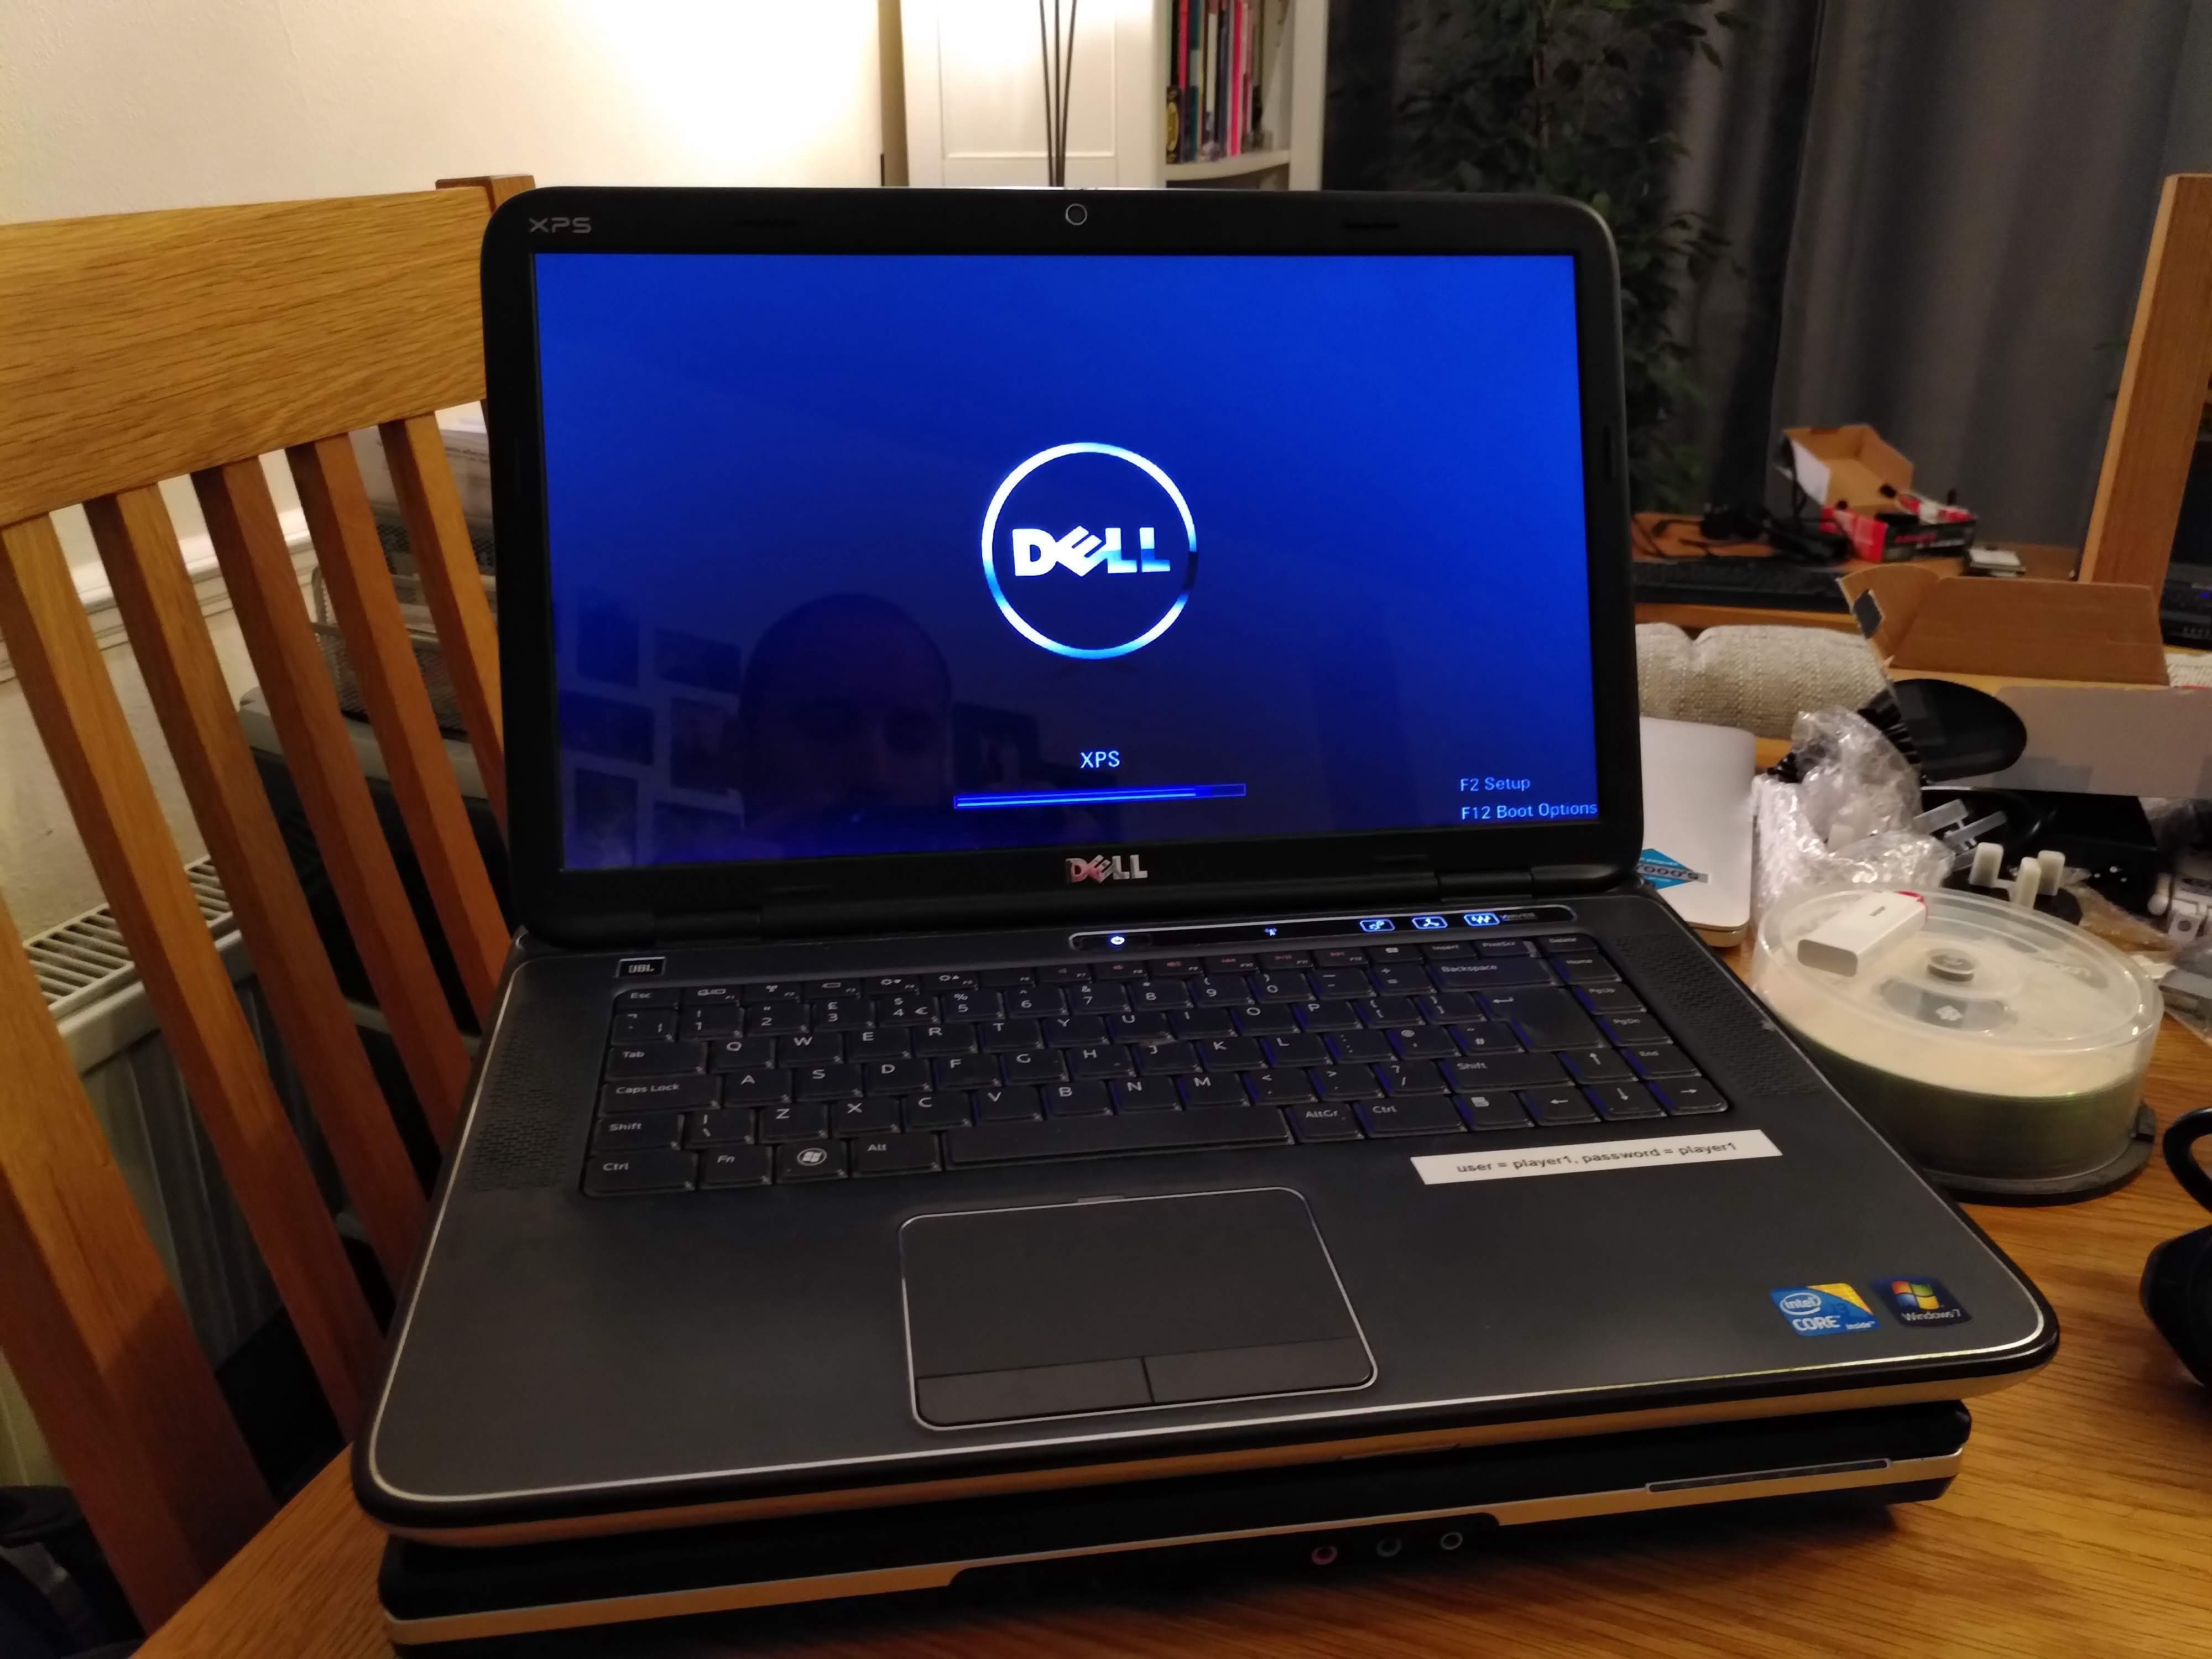
Press this key to tell the BIOS that you’d like to use something other than the main disk to start up.
You should be presented with a list that includes an option called USB Device or similar. Select that to start your laptop from the pen drive instead of the main disk. If you’re using an Ubuntu CD, you can select the CD-ROM drive instead.
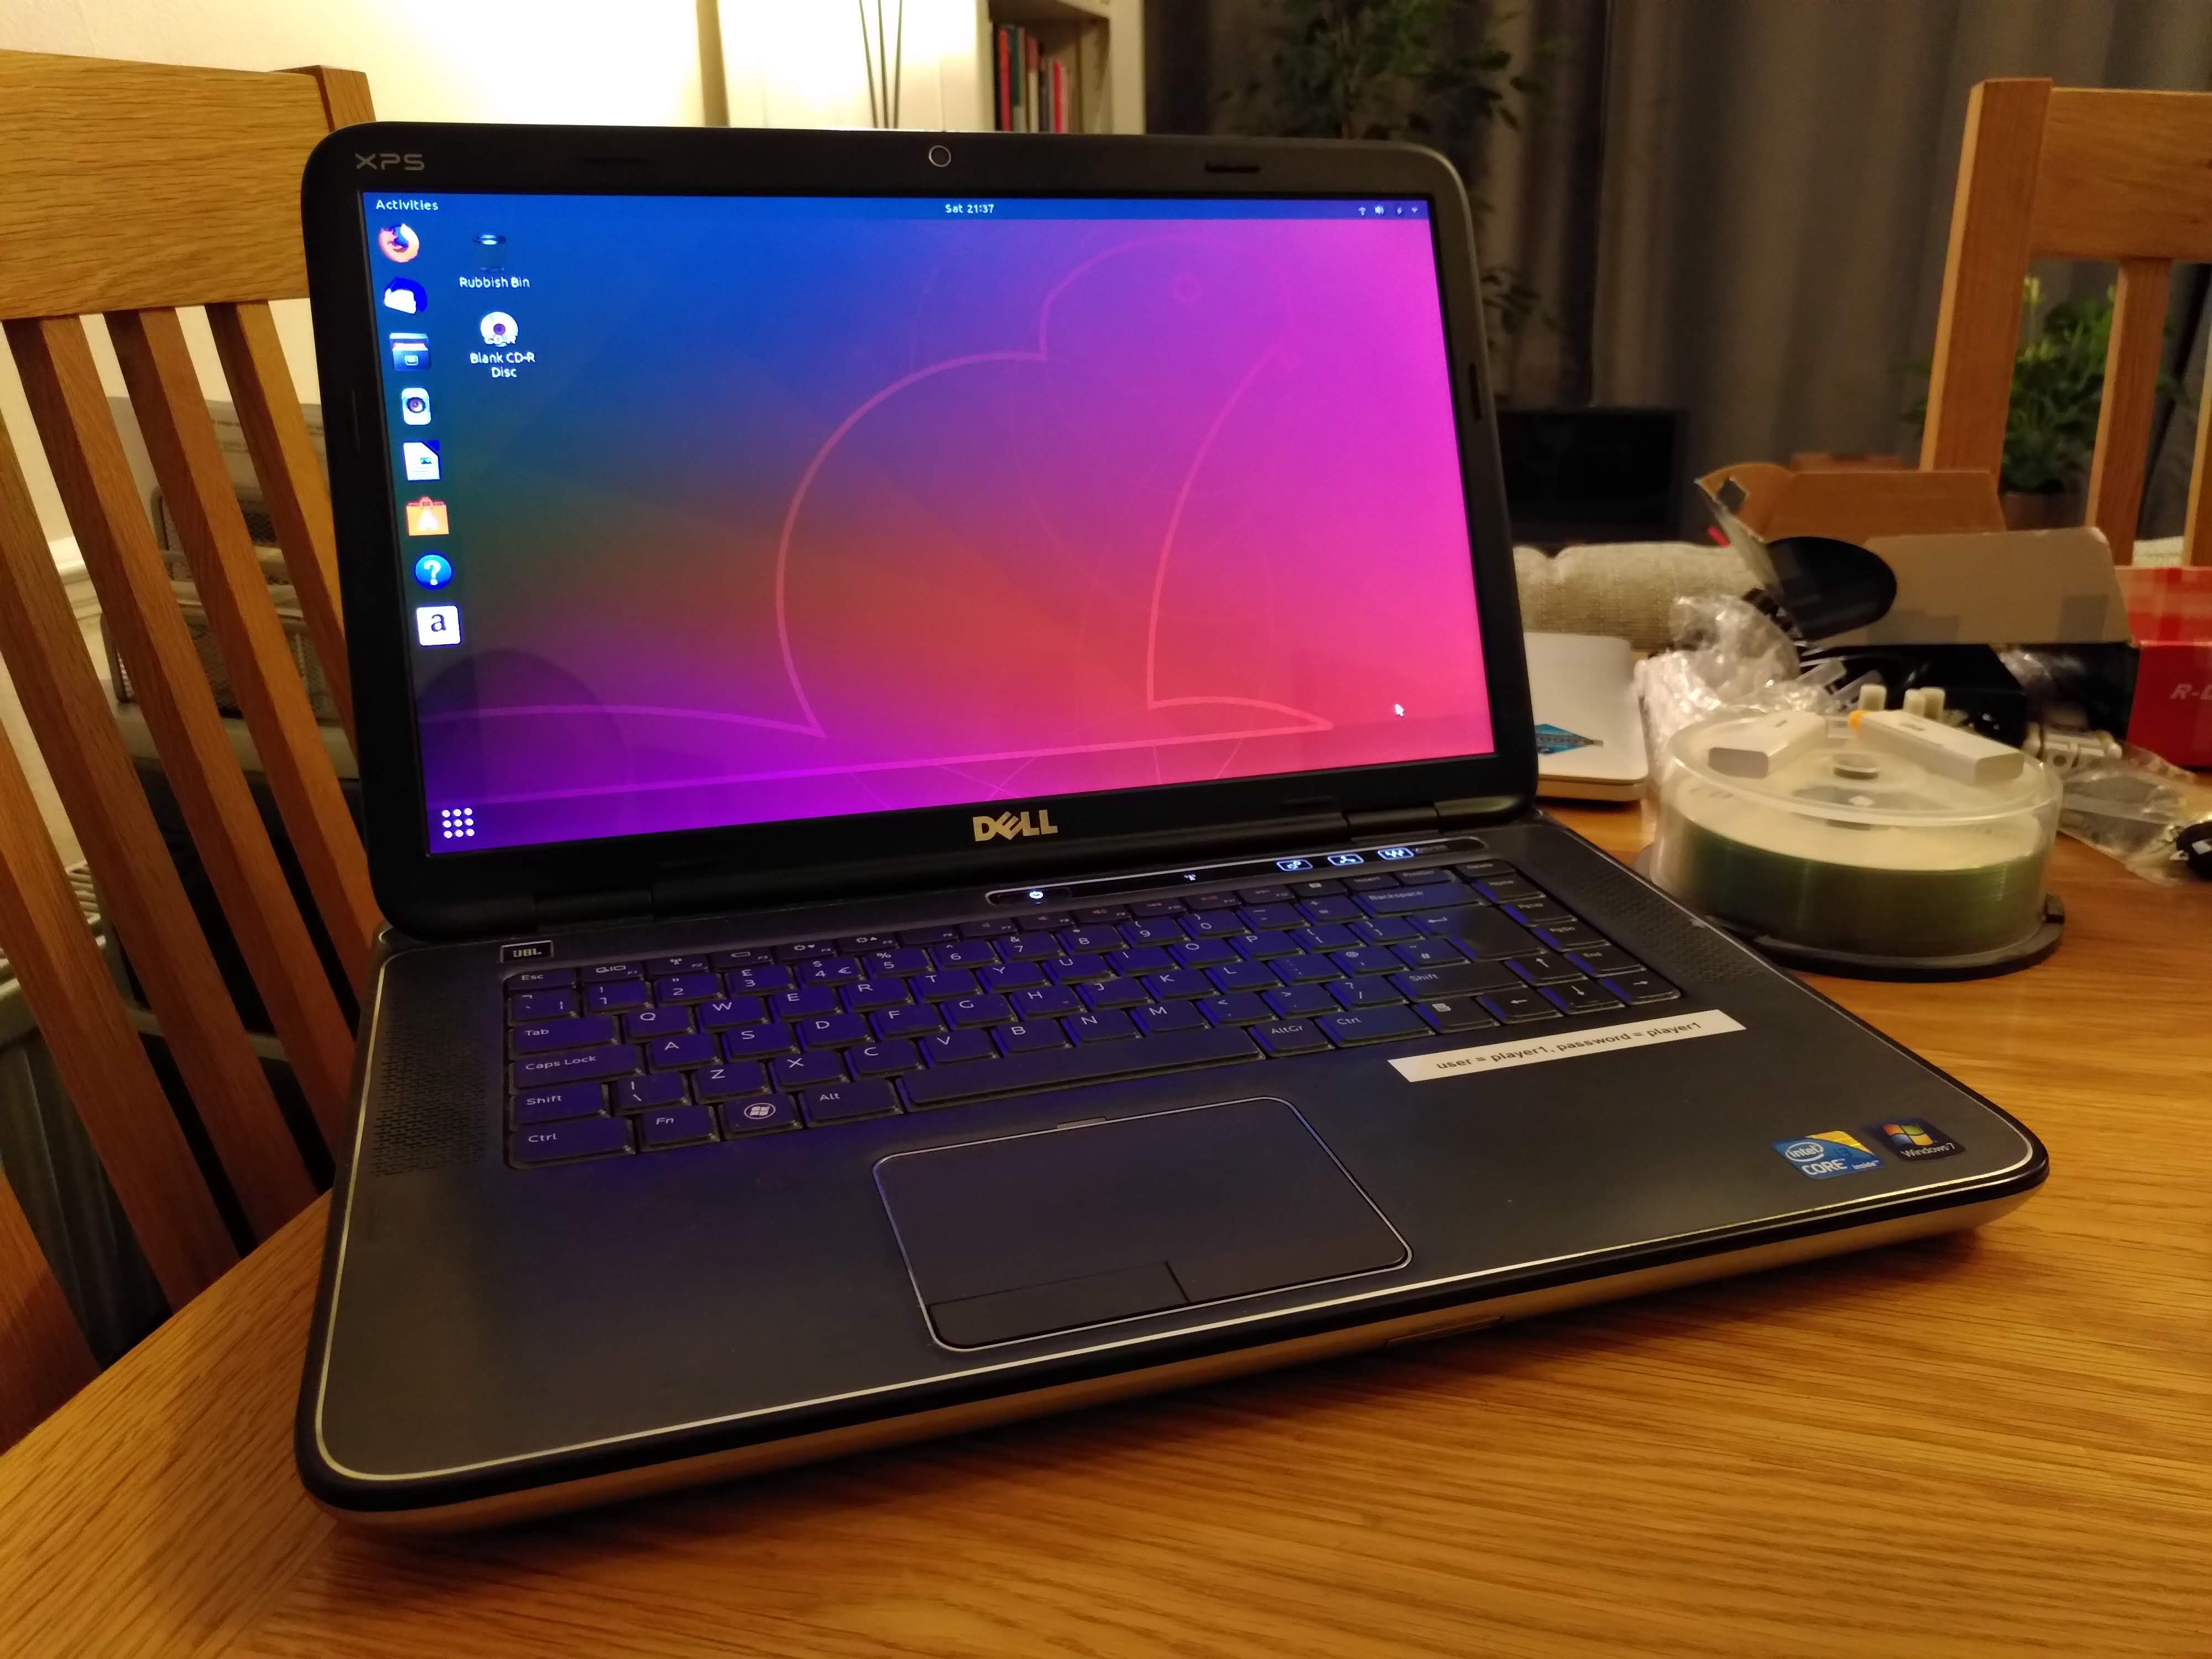
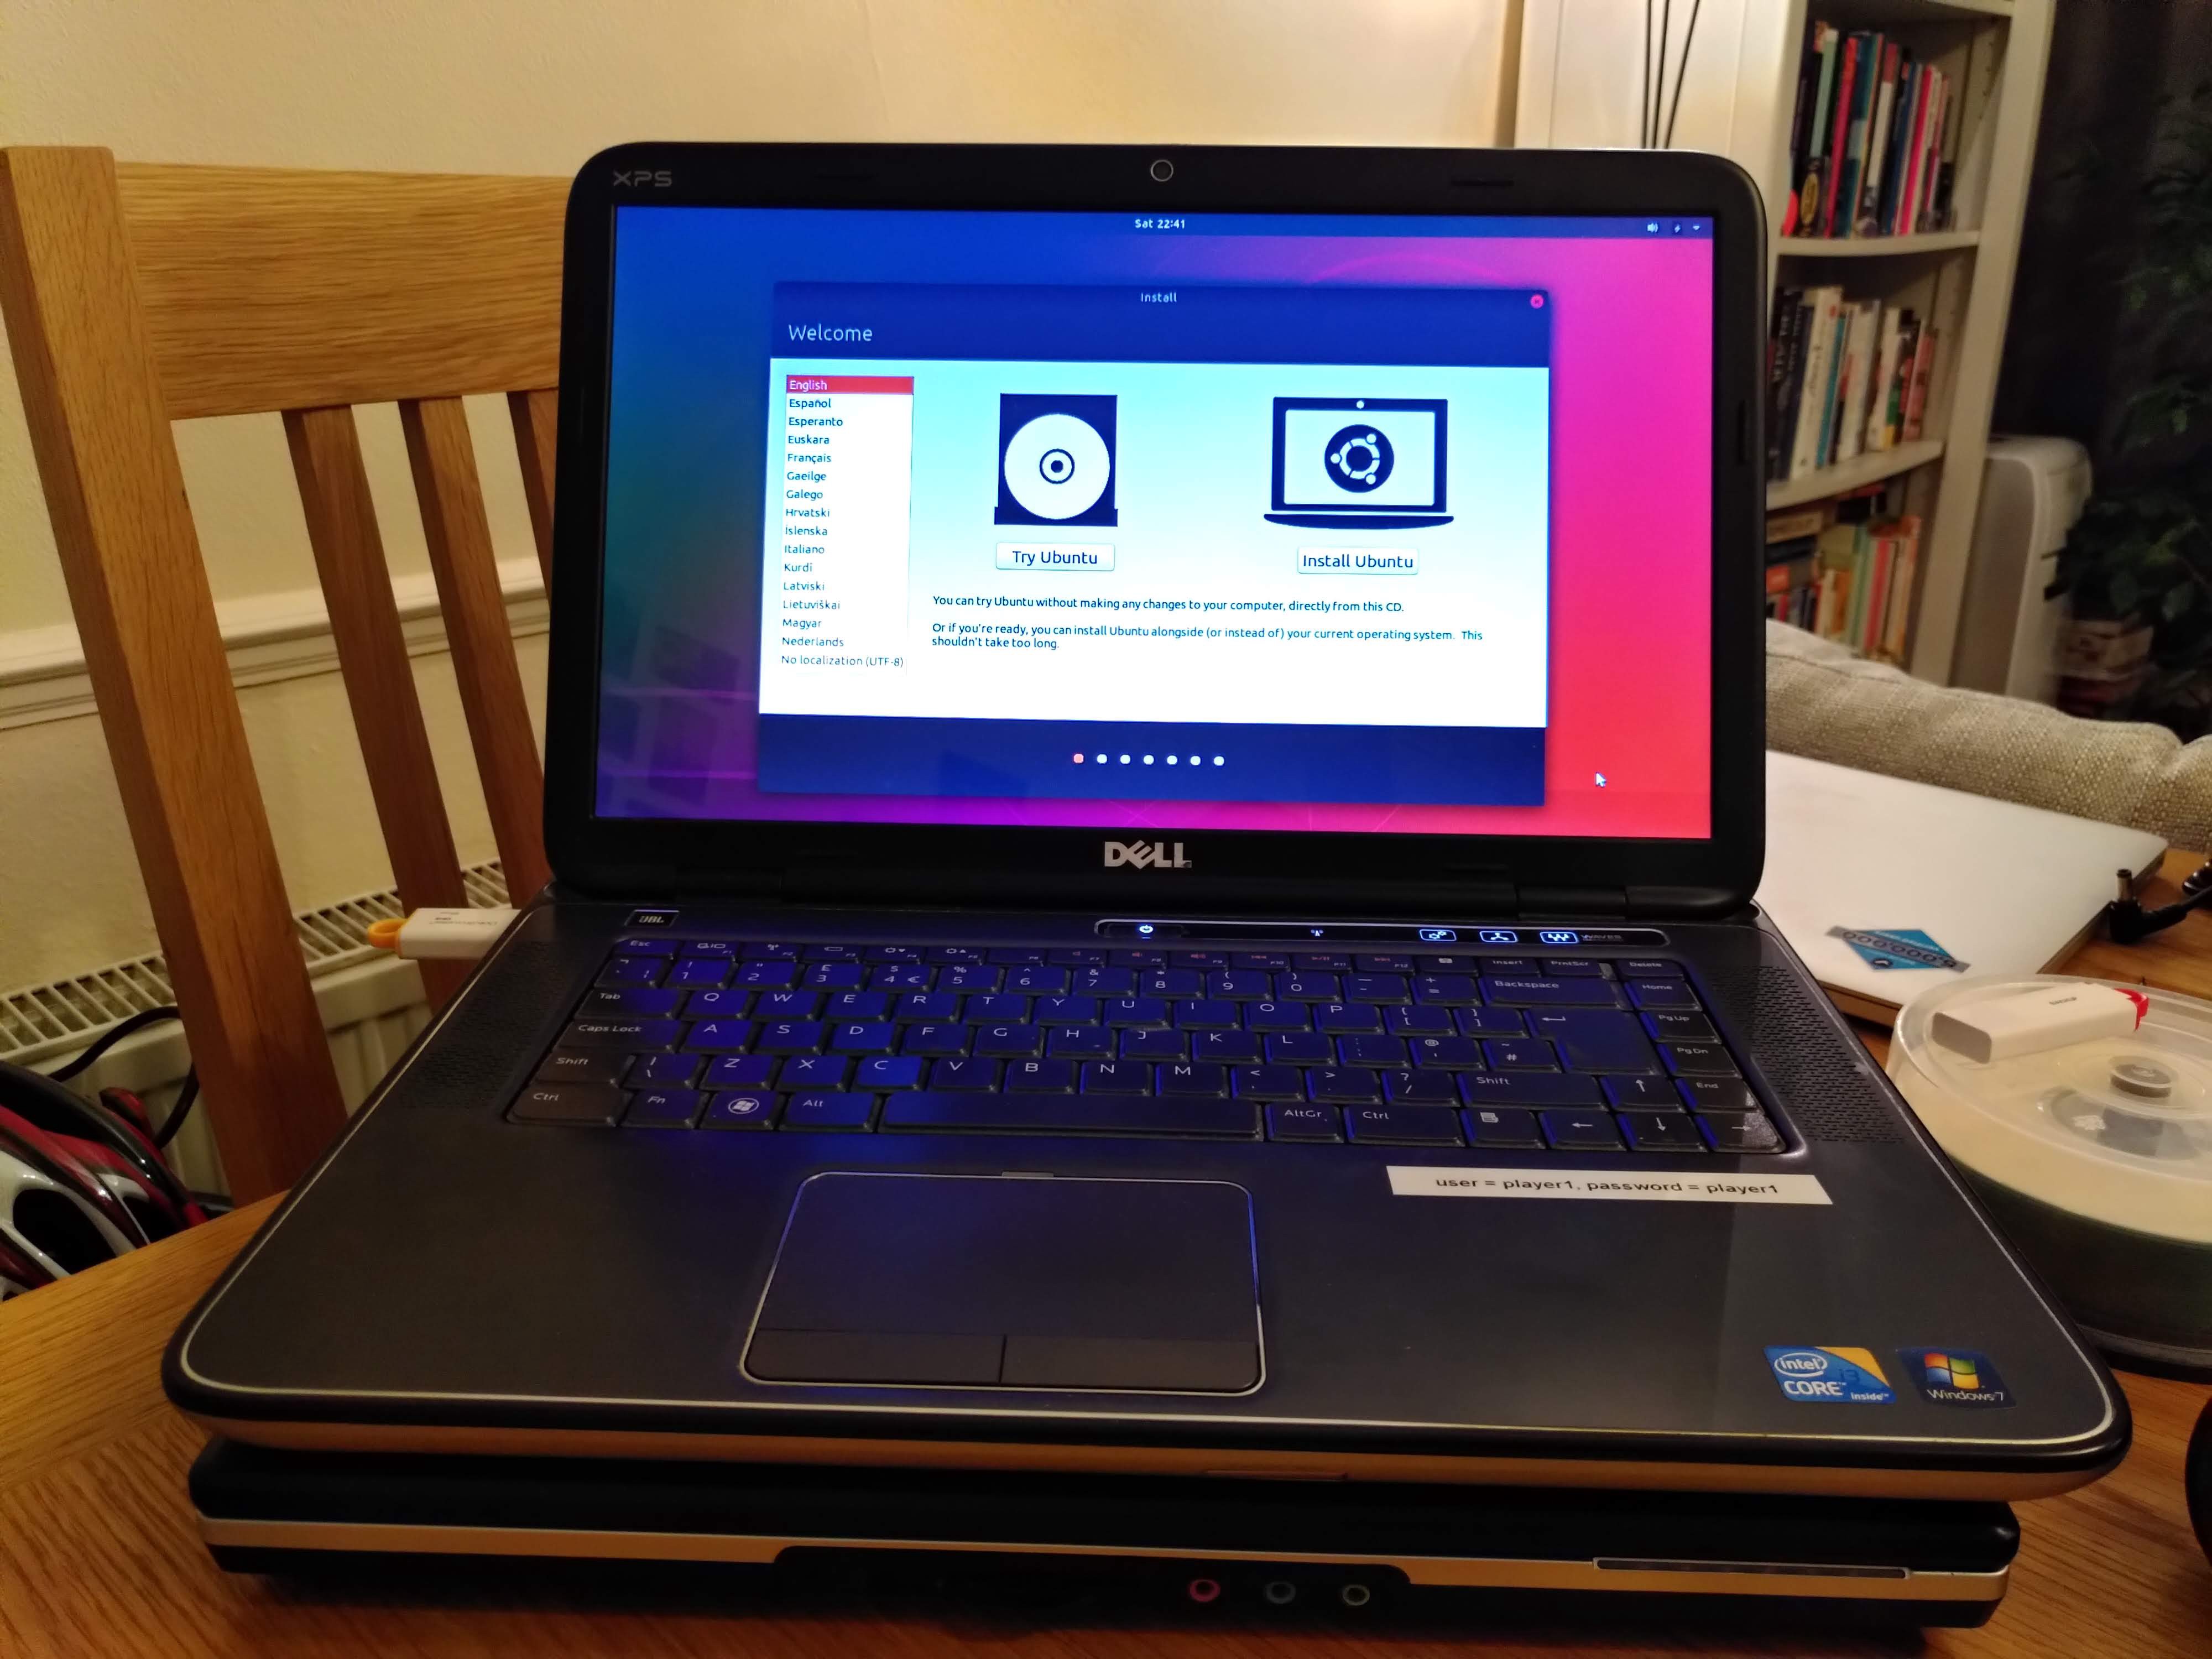
Ubuntu will start, and after it has you can choose whether to install or trial it. Choose Trial — you’re going to use it to wipe the disk on your laptop before we install it fully.
Wipe the disk
You’ll need to connect Ubuntu to wifi or a network. You can do that from the menu in the top right of the screen.
Once connected, launch a terminal. You can do that from the Show Applications icon in the bottom left of the screen. It looks like a grid of 9 dots.
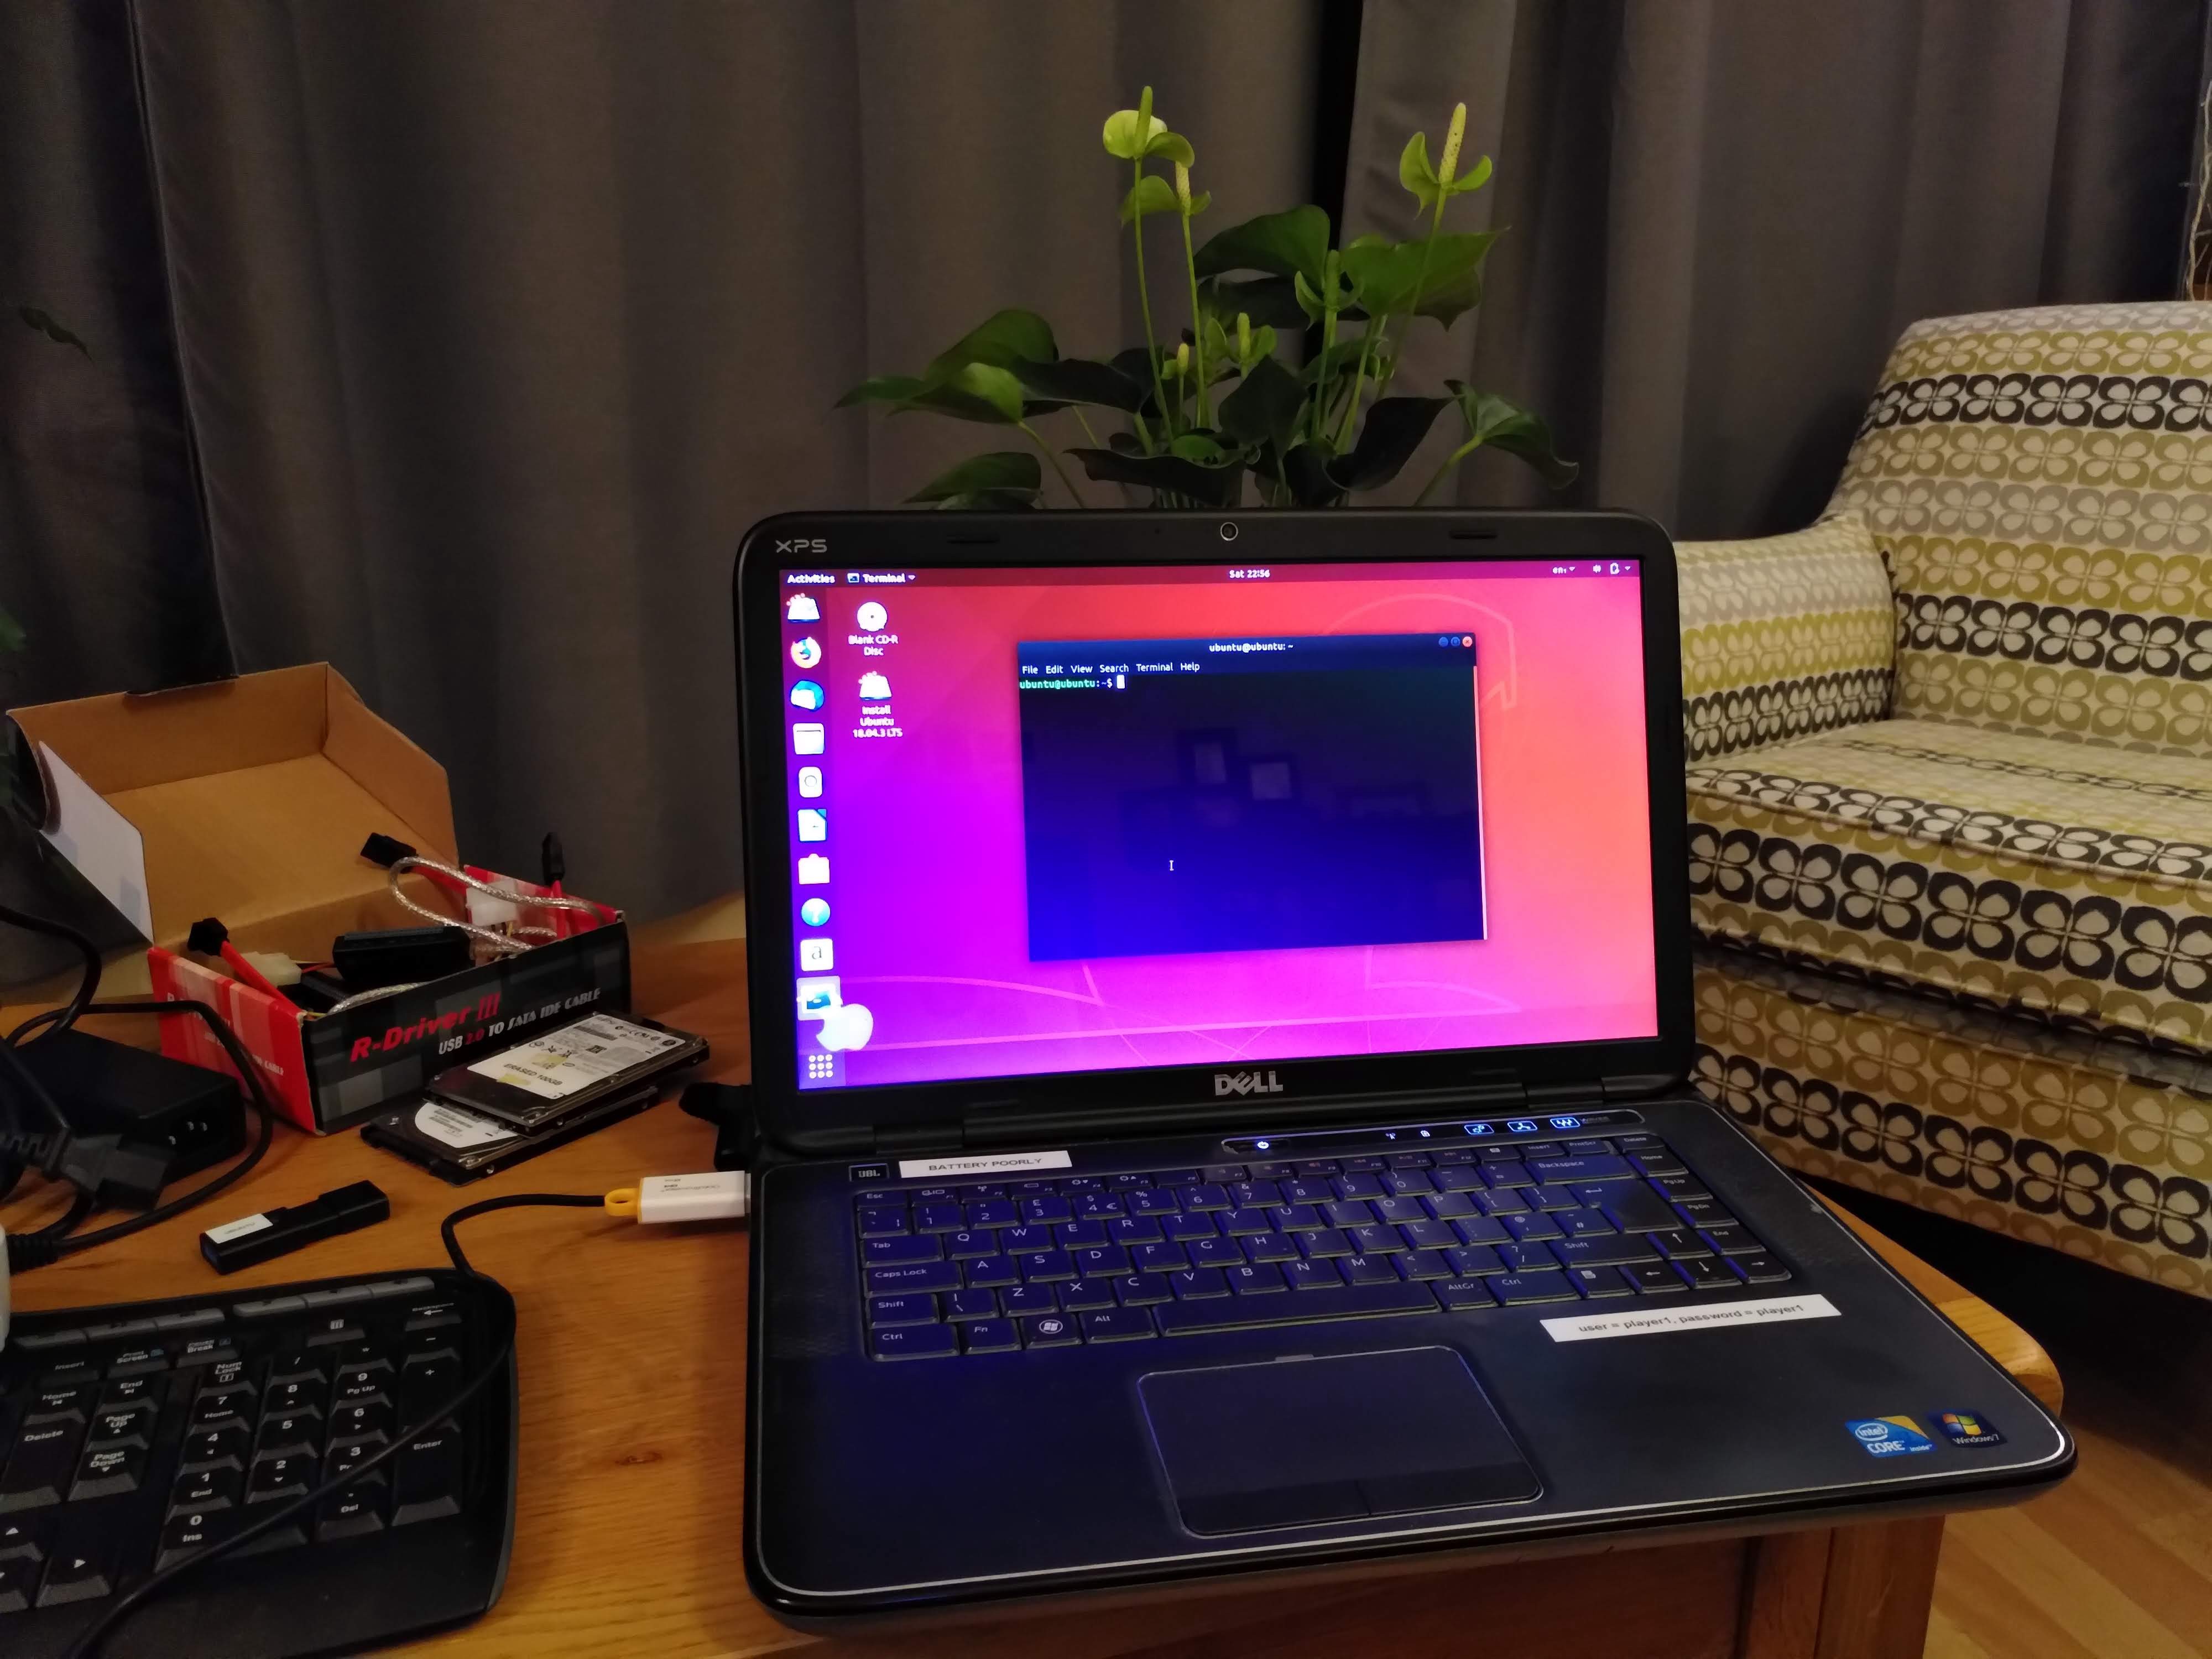
Install nwipe
In the terminal, type the following commands to find and install nwipe — a tool for erasing disks securely:
sudo add-apt-repository universe
sudo apt-get update
sudo apt-get install nwipe
NB. sudo is to ensure that you have full root (administration) privileges when you execute the commands that follow. You may be asked for your password.
apt-get is the package manager on Ubuntu — it is responsible for installing new software. These commands first make sure that a repository of software called universe is available to you. Then they make sure that Ubuntu has read that repository’s catalog, and then they install nwipe from that store.
Use nwipe to erase the disk
To run nwipe, type:
nwipe’s screen shows the devices that are available to be wiped, and allows you to select which you’d like to choose.
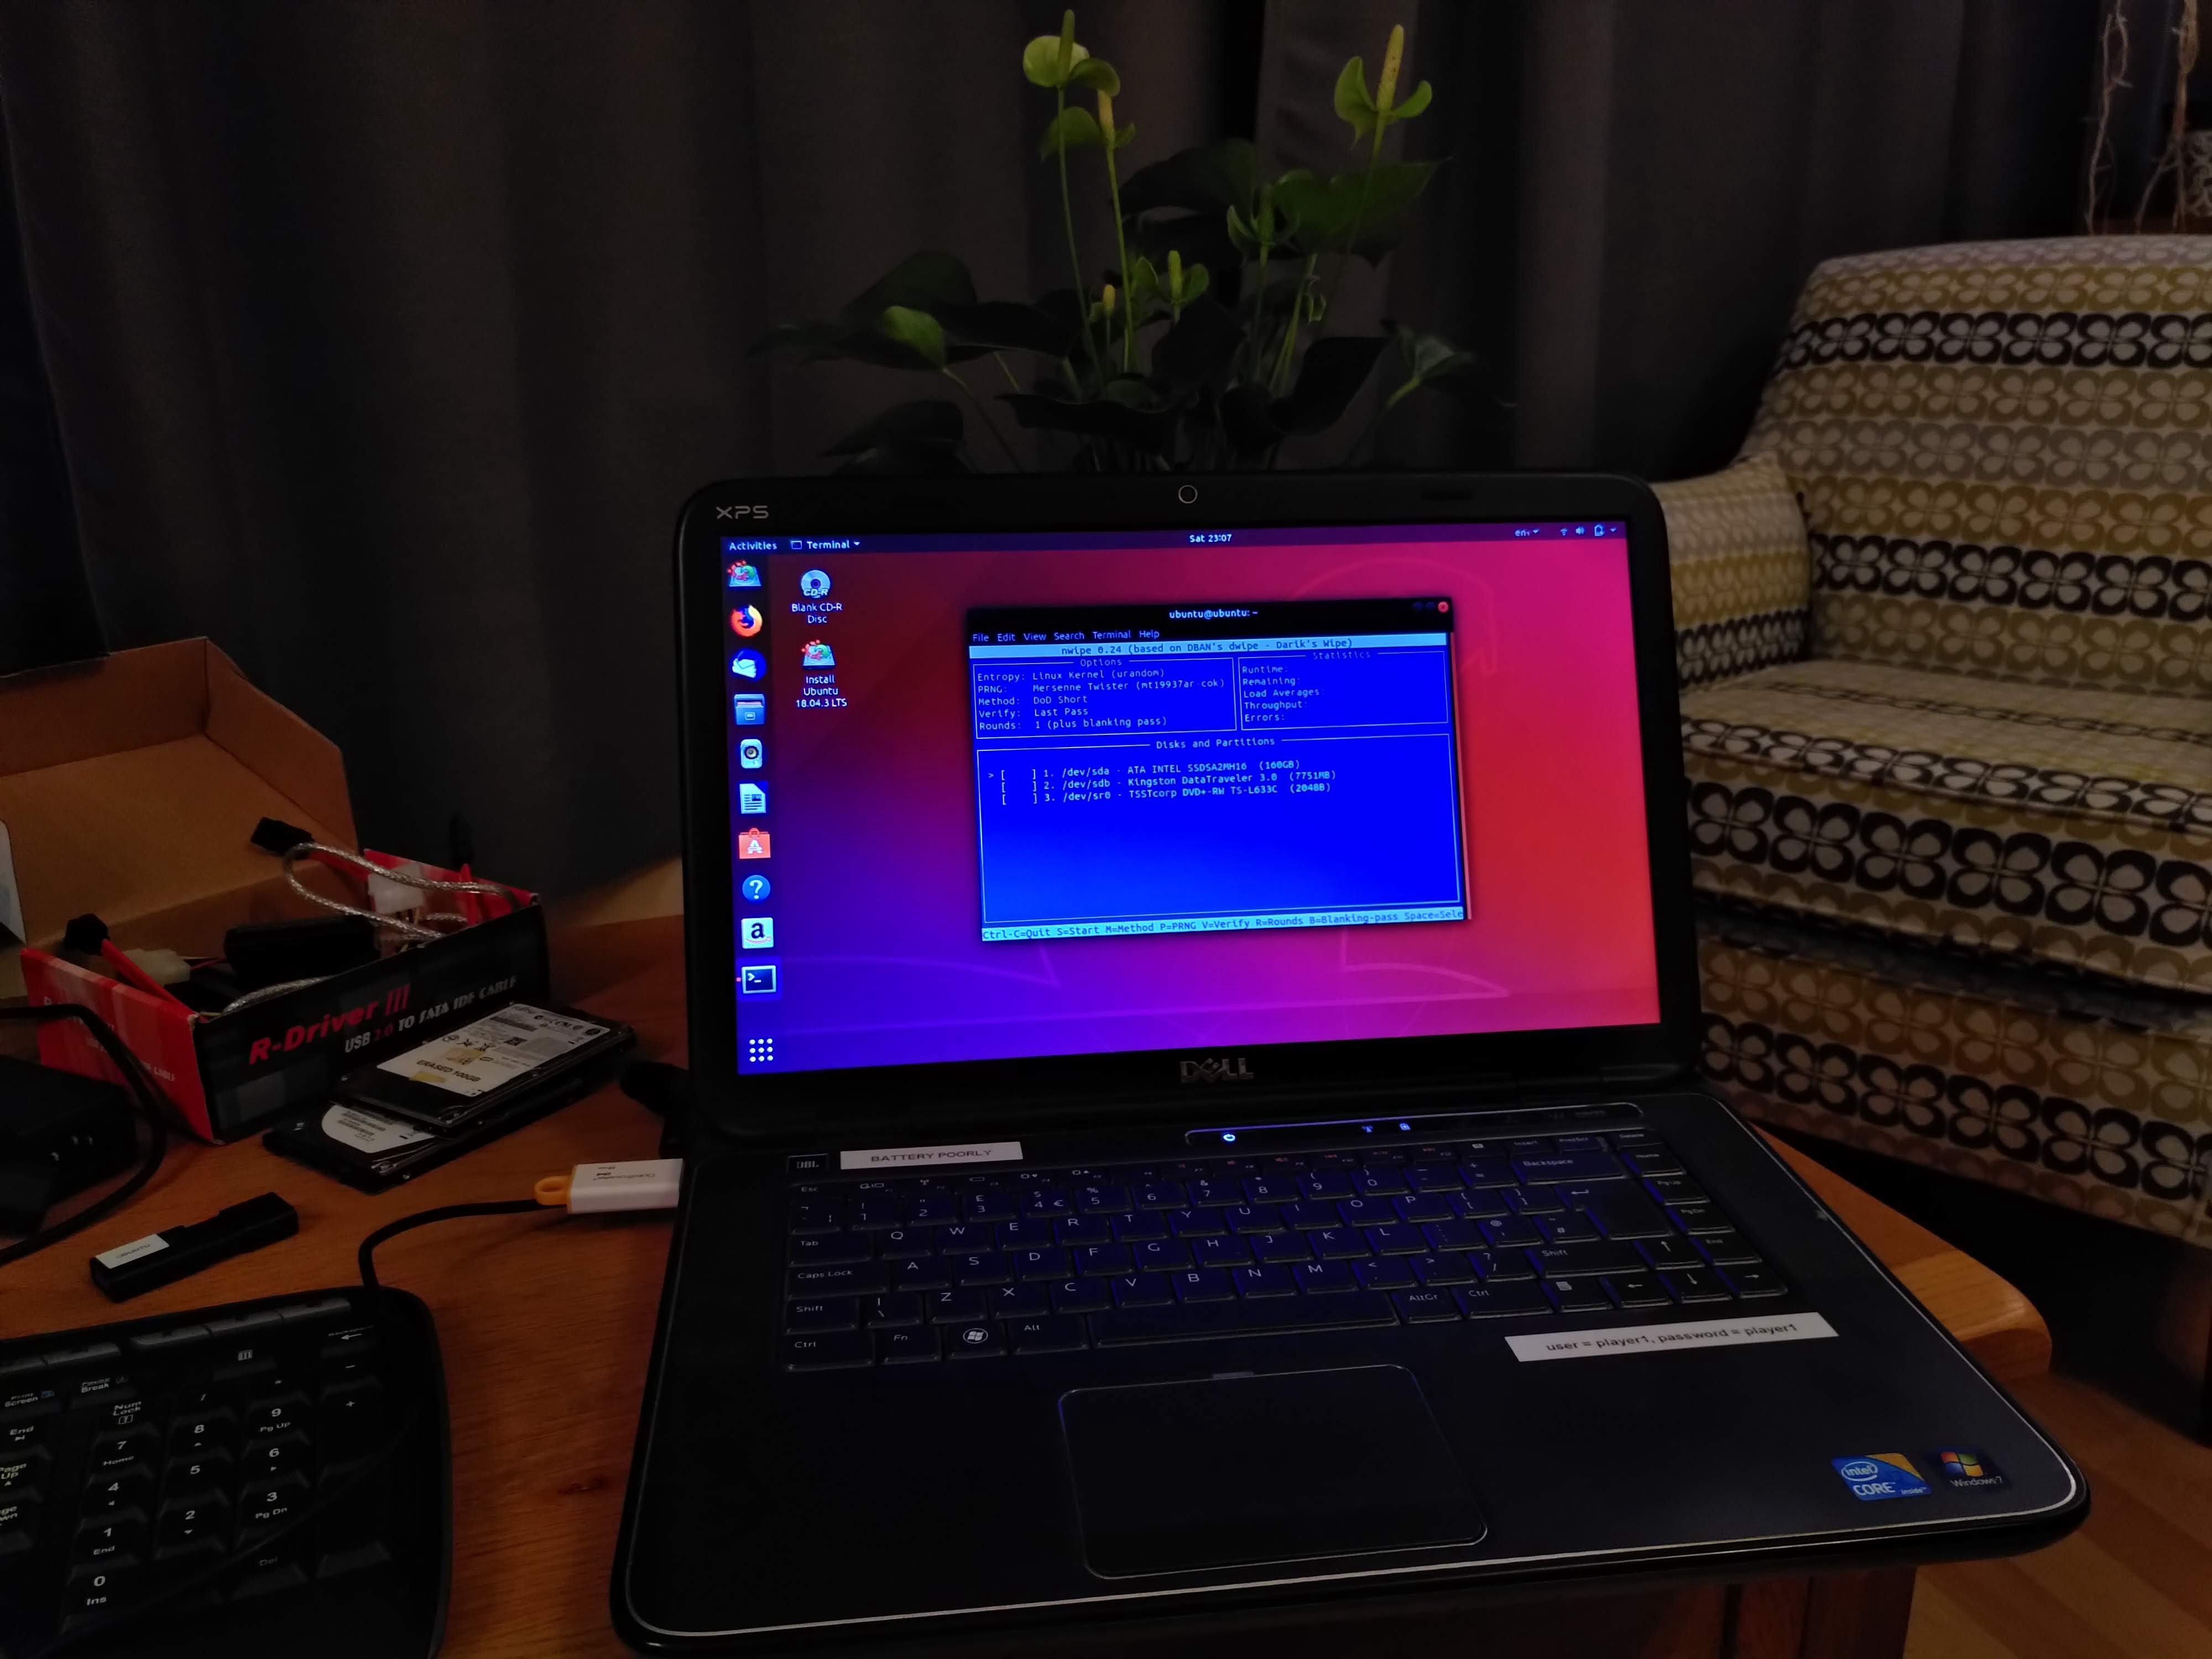
You can use the arrow keys to move up and down, and the space bar to select or deselect a disk.
Select the main disk (often /dev/sda — but make sure by checking its size and name), and be careful not to choose any other disks that you want to keep!
When ready, press (capital-) S to start a wipe.
By default, it’s set to do 1 round. This means it will write random garbage to the whole of your disk, and then blank the disk. This is thorough, and should make it impossible to retrieve data from your disk. Settle in, it’s also going to take a while!
(It’s alleged that some nation states have the resources to extract data even after this. If you’re feeling extremely paranoid there are settings you can delve into to increase the number of rounds. If you’re not sure, then you really don’t need this.)
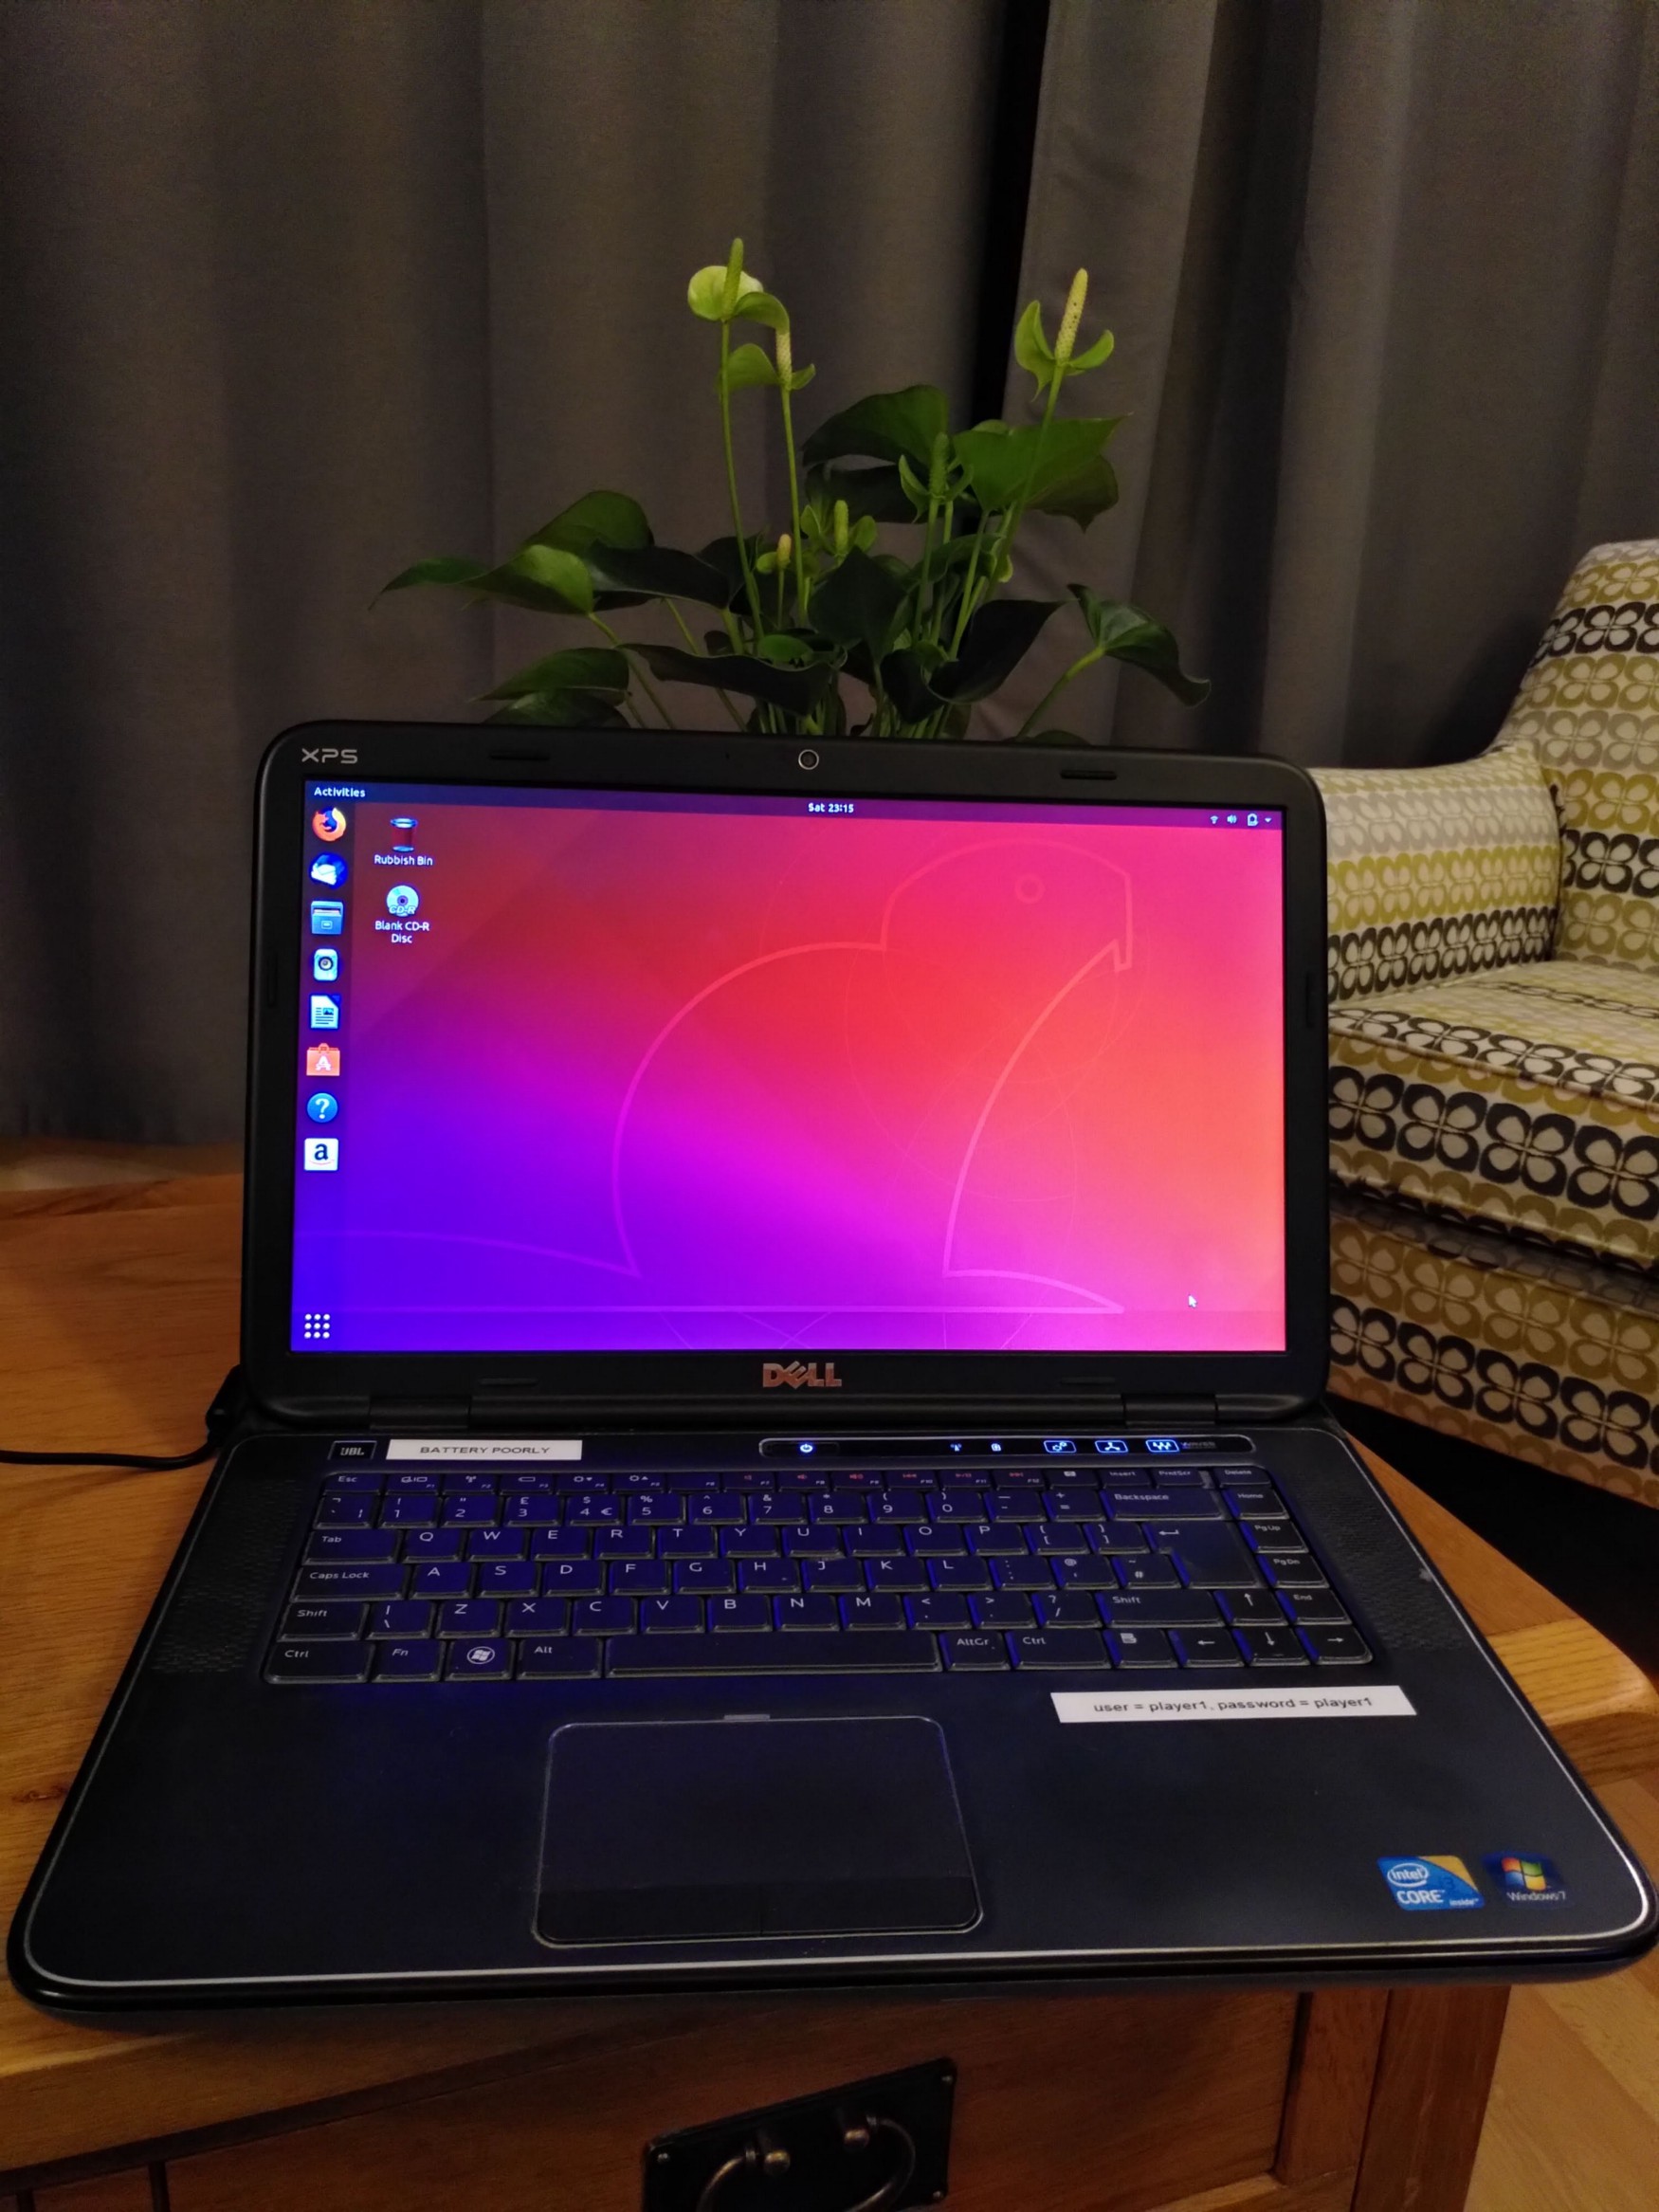
Install Ubuntu
You can now use the Install Ubuntu application sitting on the desktop to install Ubuntu onto the disk. It will ask you a few questions, and then get to work.
This will also take a while…
Once done, you’ll be able to restart the computer and Ubuntu will be the main operating system. Now it’s ready to donate!
Thanks for reading!
I’m Lewis, a software developer and volunteer.
I run a community called Police Rewired for volunteer professionals who want to give a little back and build tools for public safety. If you’re interested, check out our site at policerewired.org, give us a follow on Twitter, and join our community.